


Video editing involves reordering the manipulation of separately taken shots to produce a story that holds together logically and is entertaining for viewers. It enables creators to sequence the scenes, pace the storyline, and make a narrative arc that the audience is able to appreciate. This blog is a guide composed for both budding vloggers and someone eager to enhance personal videos.
Choosing the Right Software
Most cameras and smartphone systems arrive with internal software or an option to apply simple edits without having to use external software. Tools for editing are available on social platforms such as TikTok and Instagram Reels.
However, such tools are suitable for fast edits but they do have some limitations that include watermarks or video clipping time restrictions. For beginners, especially those who are inquiring into video editing only as a glancing interest, these integrated tools could be a reasonable starting point.
Free Video Editing Software
Numerous free video editing tools are available, providing accessible entry points for those on a budget. These tools can be quite capable, offering features that cater to basic editing needs. However, be aware of limitations such as watermarks and clip length restrictions in free versions.
Utilizing free trials of premium software also allows you to explore more advanced features before making a financial commitment. Notable options include the following:
- Lightworks
- Shotcut
- HitFilm Express
Paid Video Editing Software
For those aiming for more advanced editing capabilities and a professional touch, investing in paid video editing software is often a worthwhile choice. Industry-standard programs that are renowned for their creative possibilities are as follows:
- DaVinci Resolve
- Final Cut Pro (Apple users)
- Adobe's Premiere Pro
Simplified Editing Software
Recognizing the complexity of some professional-grade software, there are simplified versions tailored for beginners. The video editing software that falls into this category are the following:
- Adobe's Premiere Elements
- Pinnacle Studio
- Filmora
- iMovie
Such tools enable their users to enjoy a user interface that is user-friendly and still retains editing features that are mainly needed. Thus, if one is not fully prepared to face the intricacies of advanced software, a simpler alternative creates an easier transition.
Beginners' Essential Hardware for Video Editing
The hardware devices are the strength of video editing and the correct hardware ensures a smooth, efficient process of editing.
1. Computer Specifications
Processor (CPU). A powerful processor is paramount for handling video editing tasks. Aim for at least an Intel Core i5 or Core i7 for smooth performance.
- Video editing software is a resource-intensive tool. You should make sure that your computer has a memory of at least 8 GB to avoid hangs during the editing process.
- Graphics Card. A dedicated graphics card accelerates rendering and playback. While not mandatory, a decent graphics card significantly improves the editing experience.
2. Storage Solutions
- Instead of an HDD, select SSD for higher data access speeds. Video files can have a large file size, and an SSD makes your editing software much faster and more responsive.
- Storage Capacity.Depending on the resolution of your videos, consider a storage capacity of at least 256GB. For 4K and higher resolutions, more significant storage, or external drives, may be necessary.
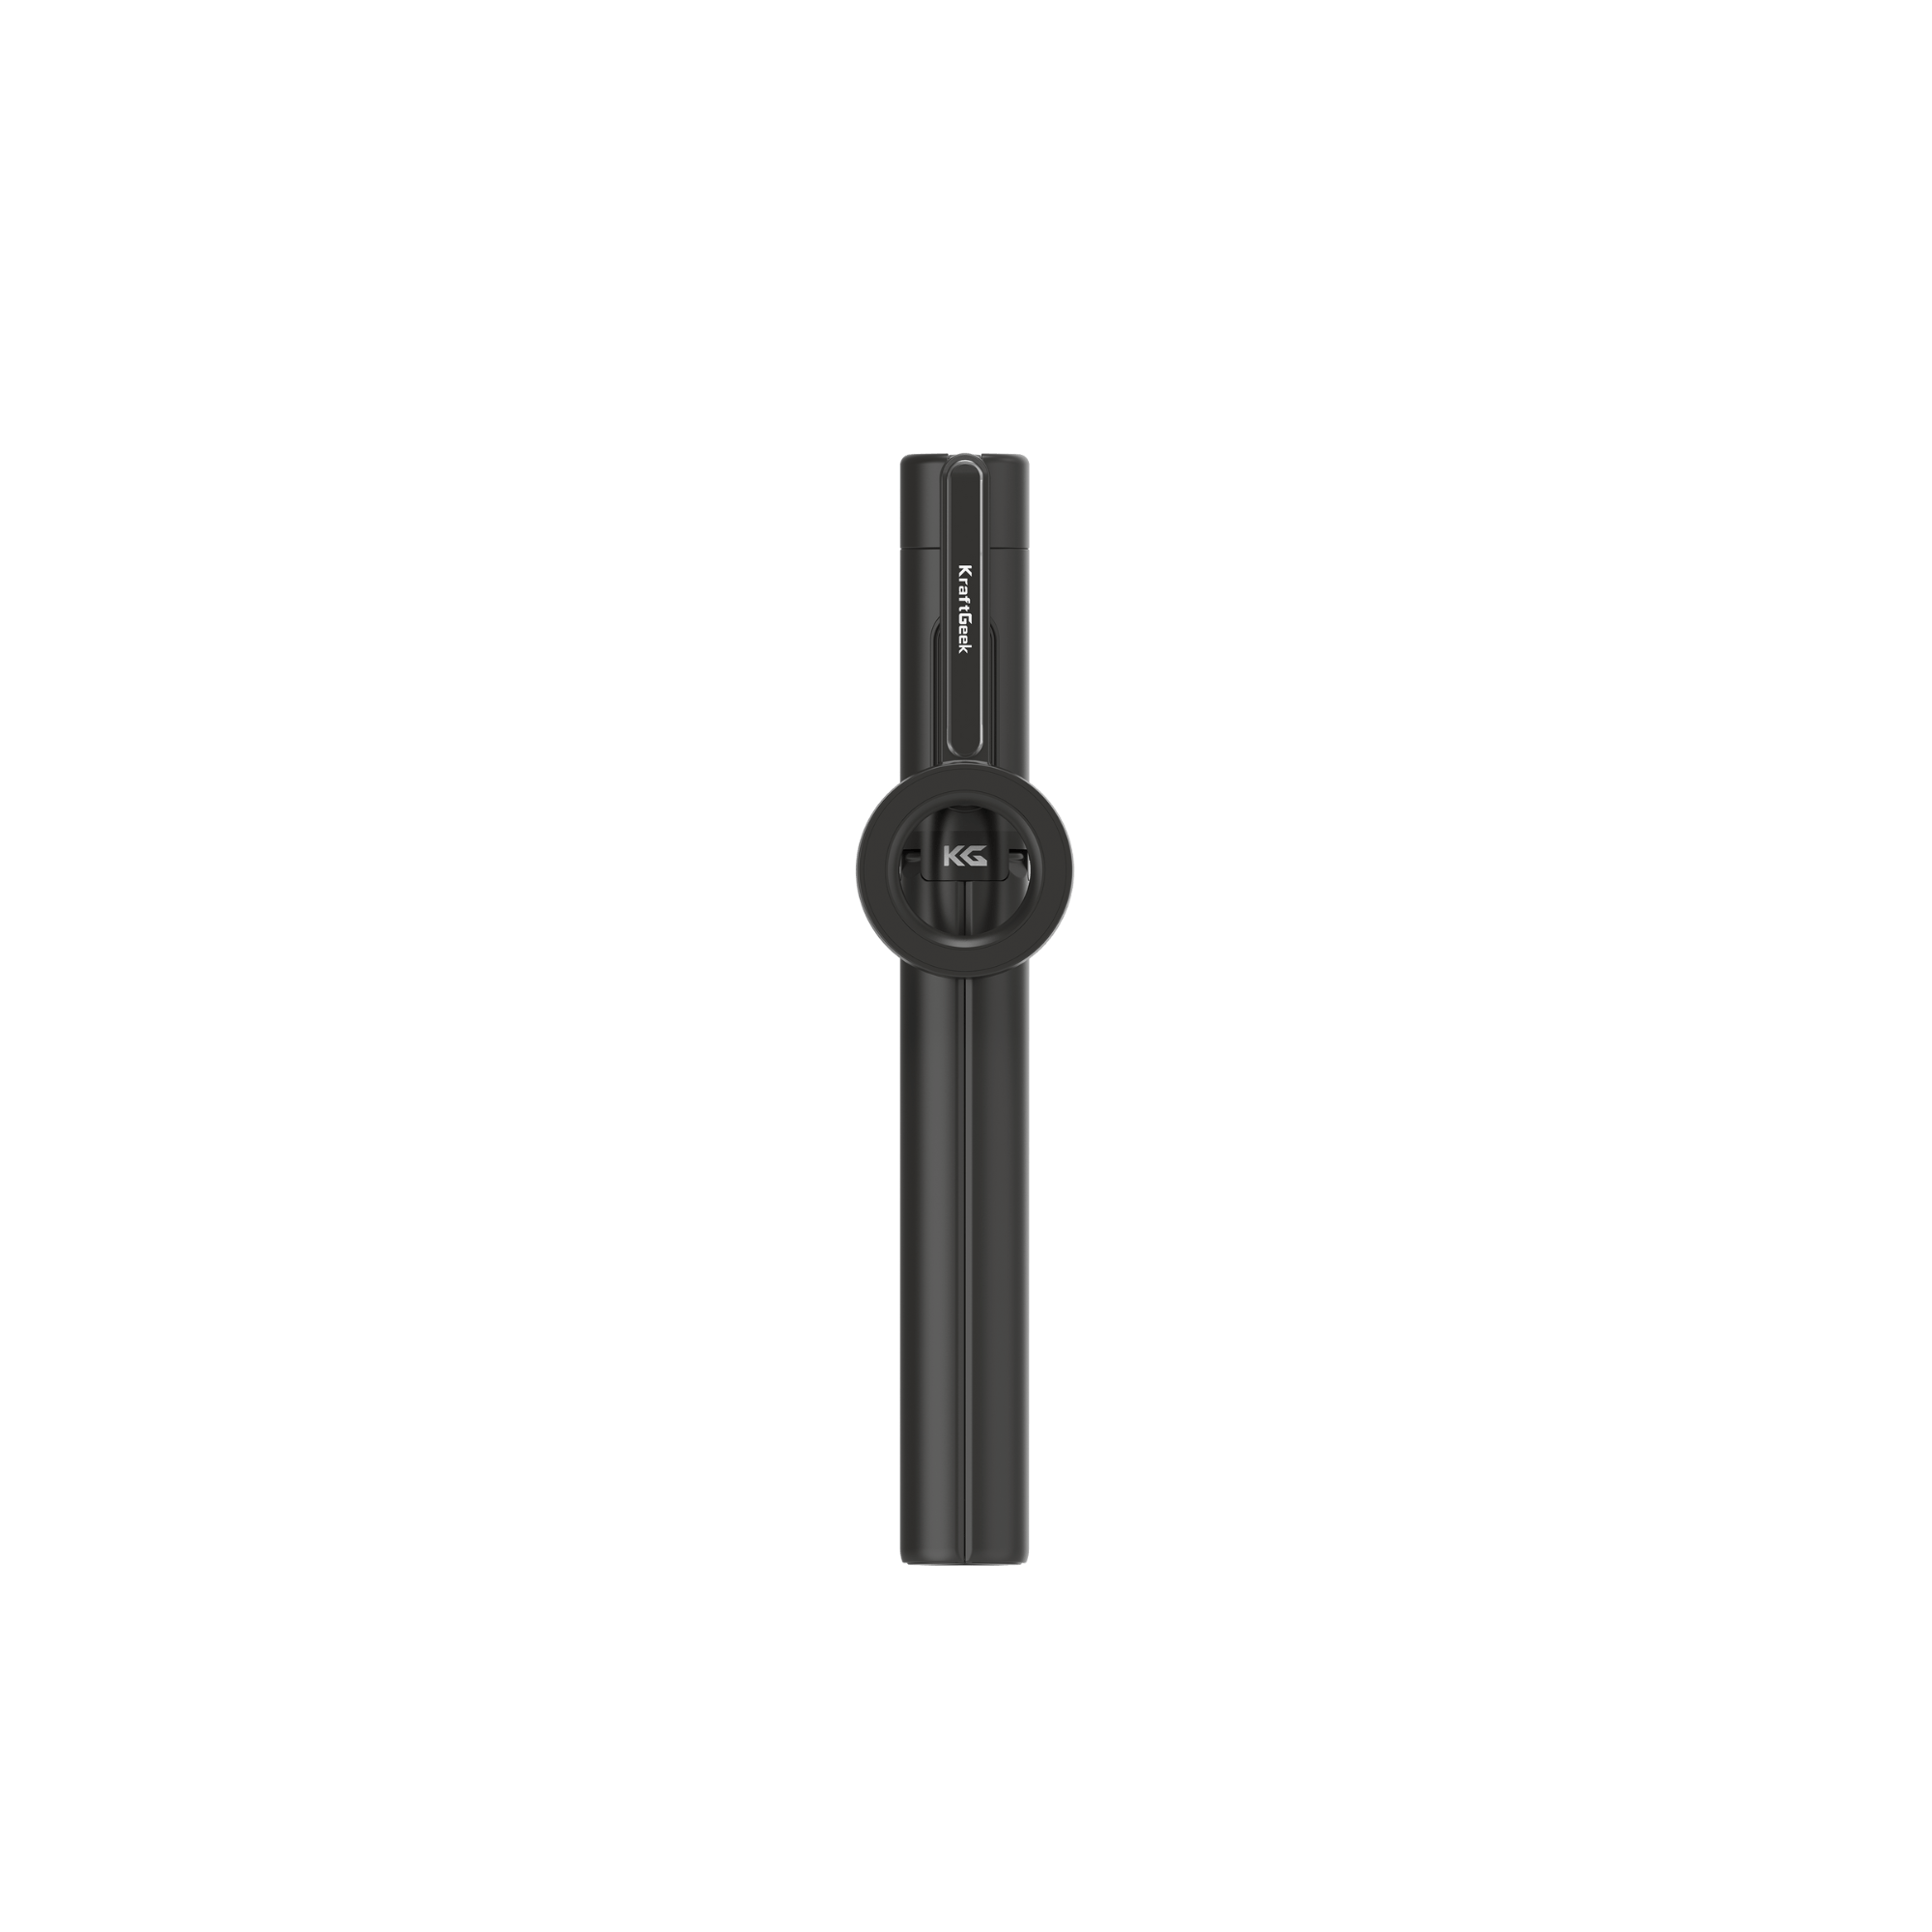
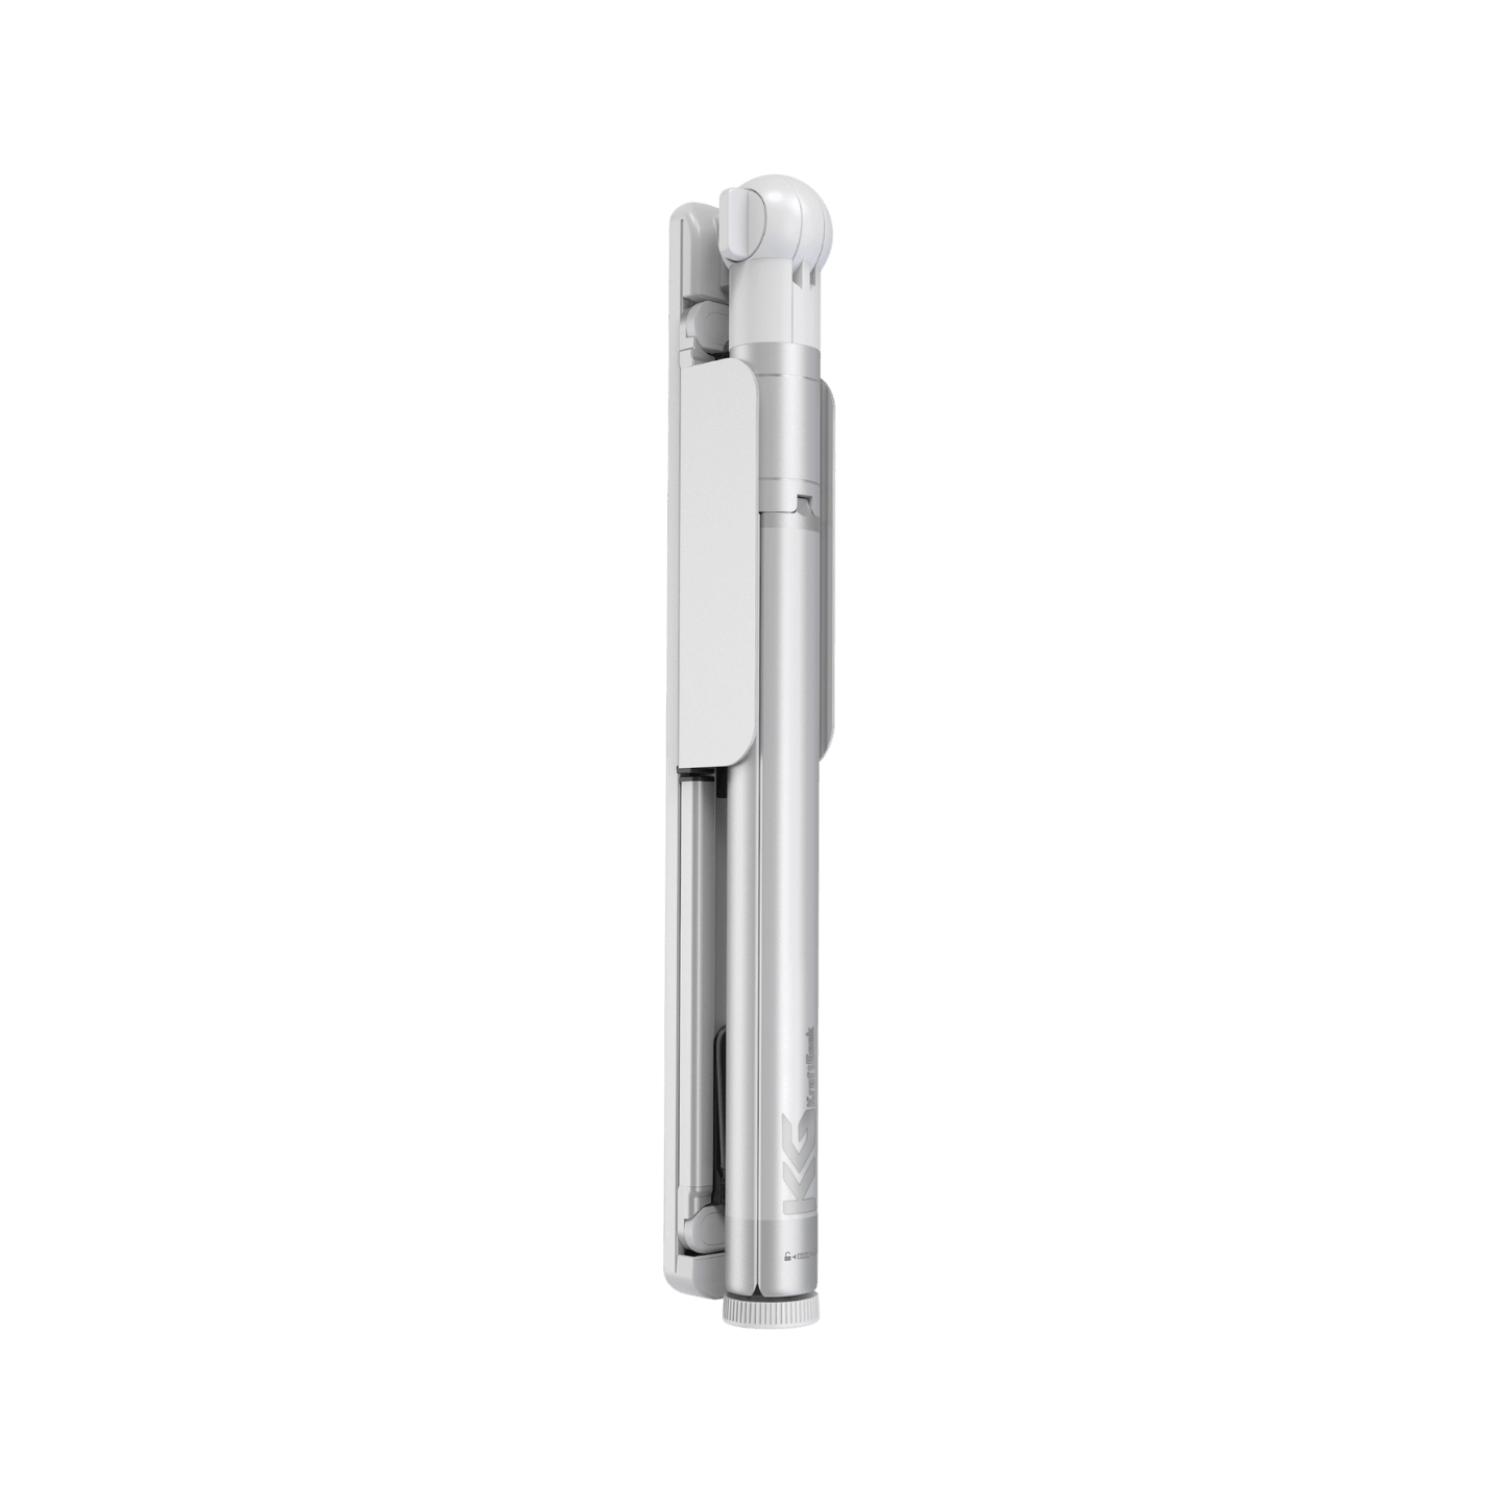
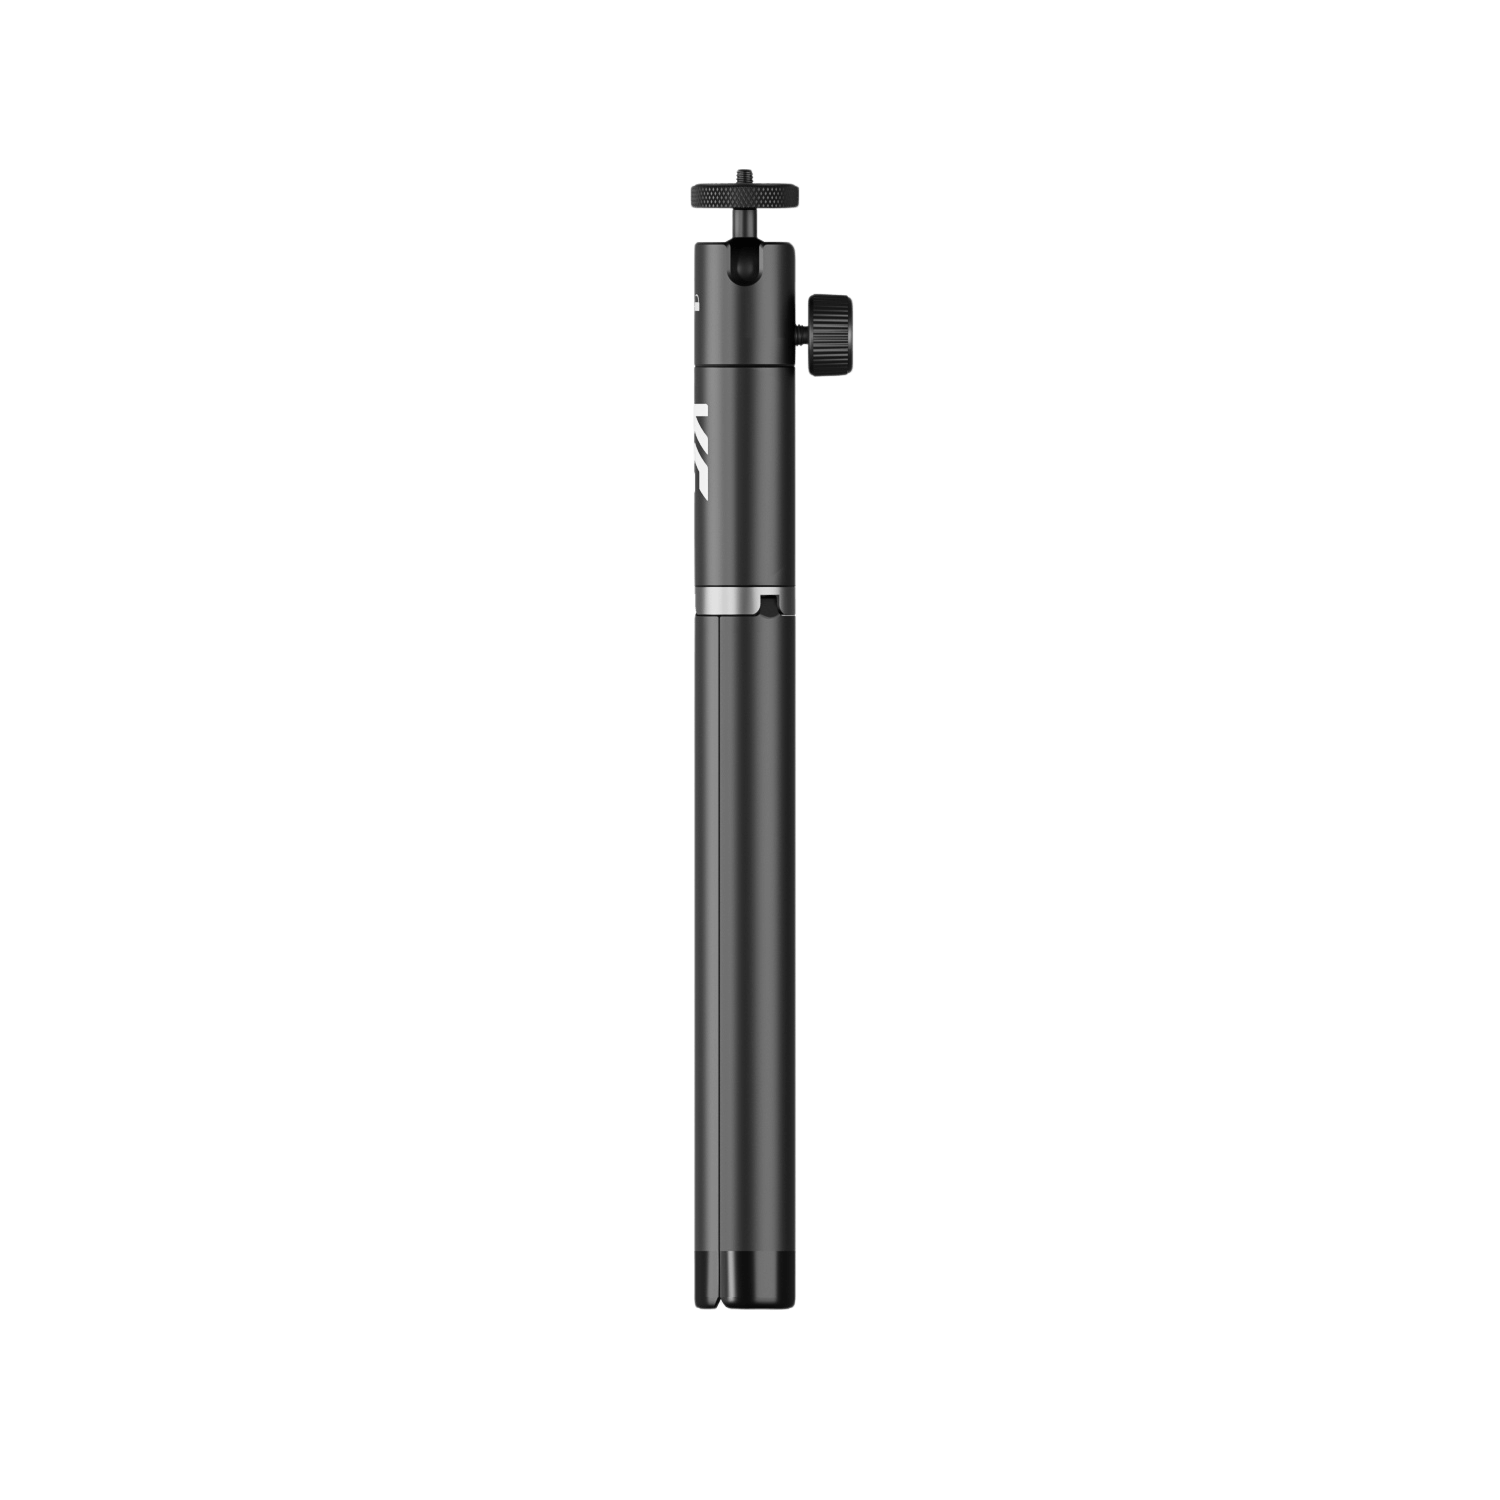
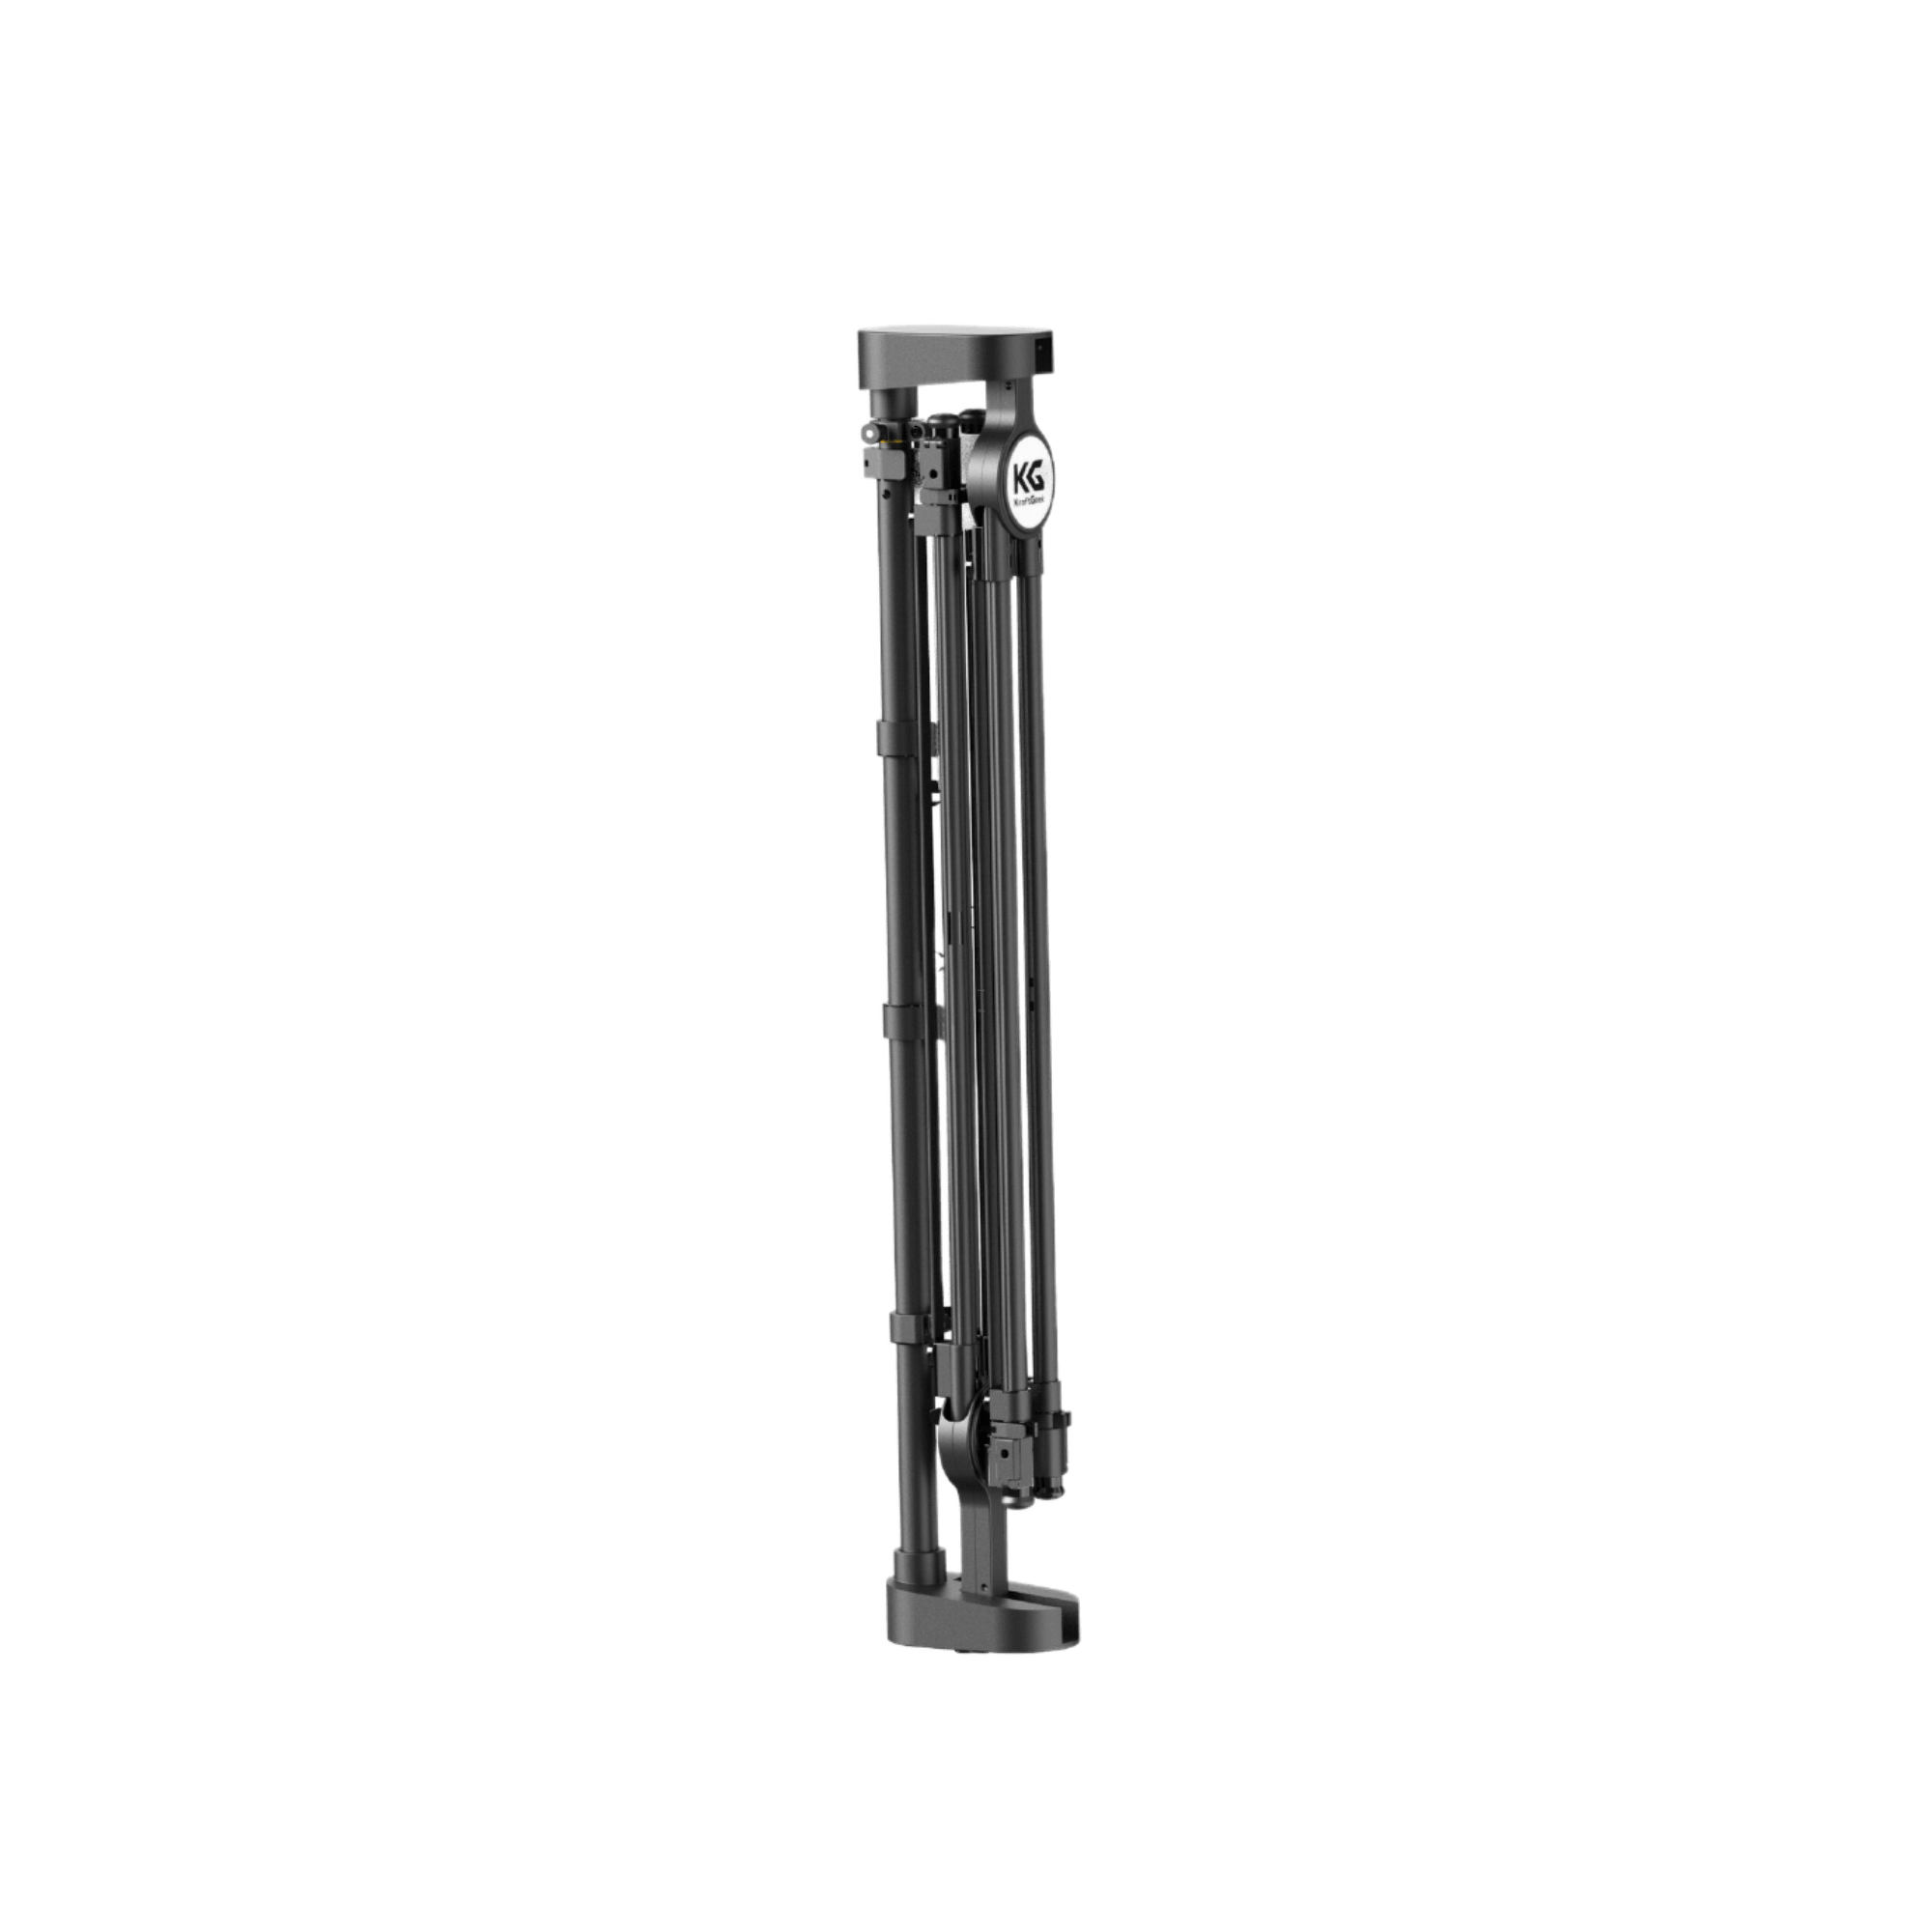
3. Vlogging Tripod or Video Tripod
The vlogging tripod or video tripod is a one of the handy instruments that contribute to stability when recording videos. Search for tripods that are height-adjustable and have stability features in order to use them accordingly in various shooting situations. This helps you to capture any angle and object shot with the help of your camera or smartphone, raising the diversity of videos.
4. High-Resolution Monitor
A monitor with accurate color representation is crucial for video editing. Look for a high-resolution display with good color accuracy to ensure your edits translate well across different screens. Consider a larger screen size for a more immersive editing experience. A 24-inch monitor or larger provides ample workspace for video editing tasks.
5. Audio Equipment
- Clear audio is essential for quality video content. If you can afford it, invest in a good microphone, whether it’s a USB mic for ease of use or an XLR mic for more professional quality.
- High-resolution headphones assist one in noticing subtleties of audio that a casual listener might overlook in mere speakers. Closed-back headphones do not let in any external noise, which means one can always edit their audio and get the best output.
6. External Backup Solutions
- Cloud Storage.Utilize cloud storage services as an additional backup for your video files. This provides security in case of hardware failures and allows for easy collaboration on projects.
- External Hard Drives.Consider having external hard drives for local backup, especially when working on large projects. This adds an extra layer of protection for your valuable video files.
Step-by-Step Video Editing Guide
1. Organize Your Footage
A well-organized media library sets the foundation for a smooth editing process. Efficiently categorize and label your footage for easy retrieval during the editing phase. rganize your raw clips into folders based on scenes, locations, or themes. This simplifies navigation and ensures a systematic workflow.
Rename files with clear, descriptive titles to easily identify content. Include dates or key details for quick reference.
2. Set Clear Goals for Your Video
Defining the purpose and tone of your video informs the editing decisions. Whether creating a family vacation montage or a professional presentation, establishing clear goals guides the editing process.
Sketch a basic storyboard outlining the sequence of shots and desired transitions. This visual roadmap aids in maintaining focus on your video's overarching narrative. Tailor your editing style to resonate with your target audience.
3. Select Shots and Craft a Narrative
Thoughtful shot selection forms the backbone of your visual story. Create a compelling narrative by choosing shots that contribute to the overall message. Identify shots that actively contribute to the narrative. Each clip should serve a purpose in advancing the story, maintaining viewer engagement.
Seamlessly connect shots to maintain a cohesive flow. Consider match cuts or visual similarities between consecutive clips for fluid transitions.
4. Choose the Right Editing Software
The selection of editing software shapes the editing experience. Tailor your choice to your skill level, preferences, and the complexity of your project. Before committing to a paid software, try out trial versions. This allows you to assess the interface, functionality, and overall compatibility with your editing style.
5. Implement Basic Editing Techniques
Understand the principles of editing videos regarding where to trim, how to cut, and what to arrange between clips so that they form a coherent story. Instead of destructive editing, choose reconstruction methods in order not to destroy the original footage.
Familiarize yourself with essential keyboard shortcuts for efficient editing. This accelerates your workflow and minimizes the reliance on manual mouse-based actions.
6. Add Music and Sound Effects
The addition of music and sound effects enhances the effect of your video by tapping into its emotional power. Carefully created audio deepens the video message and supports engagement. Select music that complements the mood of your video.
7. Fine-Tune Visual Elements
The color correction, transitions, and visual effects become what gives you the overall look of your video. Achieve a visually appealing and consistent professional consistency. Apply consistent color grading across your video to make it uniform in view.
8. Export the Final Video
The export phase determines the video's compatibility and quality. Select appropriate settings to ensure seamless playback on intended platforms. Choose export settings compatible with your intended platforms, whether YouTube, social media, or personal devices. This ensures optimal playback quality and avoids potential format issues.
Product Recommendations:
Conclusion
Every chapter in this blog serves as a brick that was laid out on the path to becoming a successful video editor from knowing how to organize footage through picking up suitable software, embracing essential hardware, and decoding the language of video editing. Remember, editing is more than simply a technical ability; it is a storytelling means where you can put your own unique viewpoint into the world.

