


Food photography is not only about taking pictures of mouth-watering dishes but it is also a combination of creativity, technical skills, and attention to detail. Today, the nature of marketing has become more visually driven, with platforms such as Instagram and Pinterest dominating the media landscape so the market for seductive food visuals is unprecedentedly hopping.
How To Choose The Right Angle
The crucial aspect of the angle from which you photograph food is that it decides the composition and the way that your images look. The different angles can give different perspectives and storytelling chances that you can dish out in interesting and creative ways.

Overhead Perspective
More often known as the flat lay style, the overhead perspective is the bird's perspective of the meal beneath. It brings out the complex features and patterns of an object while leaving out distracting background stuff. Getting use of a phone tripod or camera tripod can assist your device to be stable and ensure you that the shots able to obtain consistency from such an angle.
Three-Fourths Angle
This perspective shifts the camera's angle from the bird's eye view to shooting directly against the object, without regard to overhead or downward perspective. At a 45-degree angle or so from the table, the frame of the camera should be placed to capture the food from a tempting angle and to convey the context and visual interest.
Straight-On Angle
Through a point-of-view similar to that of the diner, the straight-on shot lets the viewer be immersed in the dish details. They can enjoy the same stimuli as someone sitting in front of a table and, hence, develop stronger bonds with the dish. Testing with different heights and distances makes it possible to capture the direct fit angle that best highlights the texture, colors, and forms of the object.
How To Enhance Composition With Props
The role of props in food photography is versatile, indeed, for they have both functions of fixating and decorating the photo. They not only enhance the flavor but also give reference to cultural context and personality as well as a visual appeal to the dish.

Cutting Boards and Utensils
Rustic cutting boards arranged in a pattern and aged utensils introduce an element of character and warmth to the photographs of food. They provide captivating pictures and offer a positive visual contrast which is used to emphasize the main feature of the dish and to draw the viewer's attention to it.
Backdrops and Textiles
Picking the right backdrop or textile can affect the spectators’ emotions and make their experience more interactive and vivid. Backdrops and textiles range from an old worn-out wooden surface to soft linen fabric, or a patterned fabric itself, and serve to give the scene a sense of place and time, thus transporting viewers to a particular time or place.
Tableware and Servingware
Selecting the appropriate tableware and servingware can bring out the dish presentation and drive home the story. You may choose to go with a rustic ceramic bowl, an elegant serving platter, or vintage glassware, among other designs. All these will together bring out the aesthetic and set it all to tell a story.
Decorative Elements
In addition to functional props, herbs, spices, flowers, and fresh fruits can create a hint of color, scent, and joy in your food photos. These natural accents not only embellish the beauty but also encourage the viewer’s senses, tempting one to taste, smell, and texture of the dish presented.
Types of Lighting Techniques
Lighting is the main instrument that allows us to capture and depict food using photography. Under different lighting conditions, the food can have different looks, from soft, diffused light that renders its texture and detail to the dramatic contrasts and shadows caused by harsh, direct lighting.

1. Natural Light
Generally, natural light becomes the first choice of most food photographers due to its soft, nice looking, and non-flattering features which help in the preparation of the food. Photo taking near the window or outside during the daytime embraces the soft, diffused light that comes from outside, adding an atmosphere with a satisfying warmth and blend.
2. Artificial Light
Although many skilled photographers prefer natural light, artificial sources such as bulbs in the studio, strobes, and continuous lighting, offer a higher level of control and uniformity and become especially important in environments that are either indoor or low-lit. This being the case, it is easier for the photographers to play with the quantity, direction, and temperature of the light in order to help him or her in achieving the desired effect for the picture.
3. Modifiers and Diffusers
The harsh shadows of the flash will be softened, and the light will be made more flattering by using a modifier and diffuser like a reflector, umbrella, or softbox. By this, these devices make it possible to guide the direction and quality of the light, so that the picture becomes more evenly illuminated and smoother transitions between highlights and shadows are emerging.
The light distribution also makes it possible to reduce glare or reflection from a glossy surface, therefore the food is the most attractive object in the picture.
Principles Of Color Theory
Color is one of the most significant factors in food photography; it can determine the way the spectator evaluates the dish in terms of taste, freshness, and quality. Differing colors imbue feelings and associations, making them imperative aspects of storytelling in photography.

Complementary Colors
Complements are colors placed opposite each other on the color wheel, such as red and green, blue and orange, or yellow and purple. Complementary colors have the ability to produce contrast and make each other look more vivid and intense when used together.
As in food photography, the idea is that pairing complementary colors can add visual interest and dimension that the final image might need to make it the one you want to keep.
Analogous Colors
Those two colors, adjacent to each other on the color wheel are called analogous colors: red, orange, and yellow, or blue, green, and purple. These colors are balanced and they are responsible for generating a feeling of oneness and unified outlook in the paintings.
Through food photography, the photographers can effectively accomplish this by using the same colors of the food in a way that they blend in together, thus creating a consistent, pleasing color pattern that the viewers would enjoy.
Monochromatic Color Scheme
A monochromatic color scheme means the usage of different shades of a single color. For example, we can use variations of shades of blue or blue-green to provide a sense of harmony and unity in the composition. On the contrary, in food photography, it is useful to use this approach to stress the natural colors and textures of food and ties the pictures together with the harmonious view.
Camera Settings for Food Photography

Aperture Priority Mode
Aperture priority mode enables photographers to focus on the aperture, since the camera adjusts the shutter speed for the needed exposure. Often in food photography, wide aperture (low f-stop number) is used in order to create shallow depth of field, which blurs the background, and highlights the main focus of the shot, i.e the food.
Manual Mode
Manual mode is synonymous with full control since photographers can choose not only aperture but also shutter speed that best suits their requirements. Manual mode is very helpful in critical lightning circumstances or when a photographer wants a particular control in exposure and depth of field.
ISO Sensitivity
The ISO sensitivity represents the camera's responsiveness to light. The ISO 100 or 200 is quite suitable when image noise is less and image quality is maximum in good light conditions. To be able to take proper images in low light photographers may need to increase the setting of ISO (up to ISO 800 and even higher) to avoid sacrificing the quality of the image.
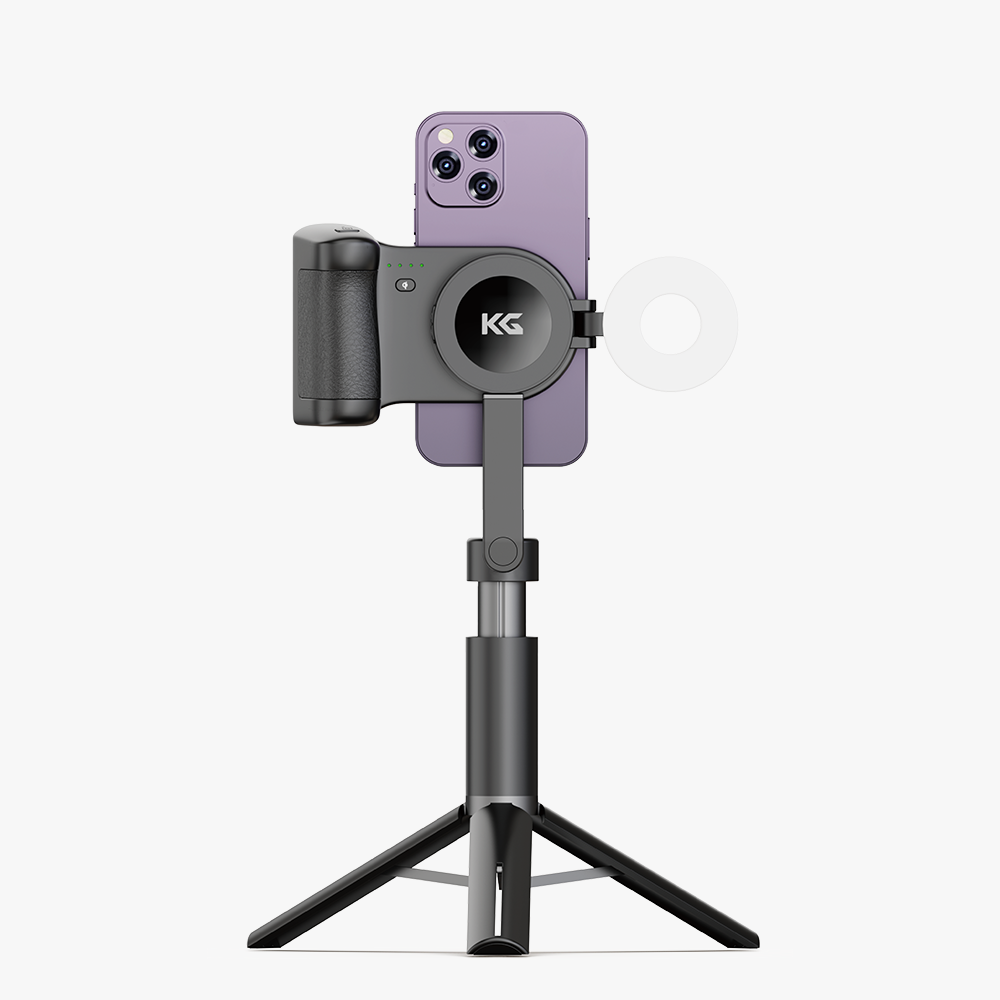
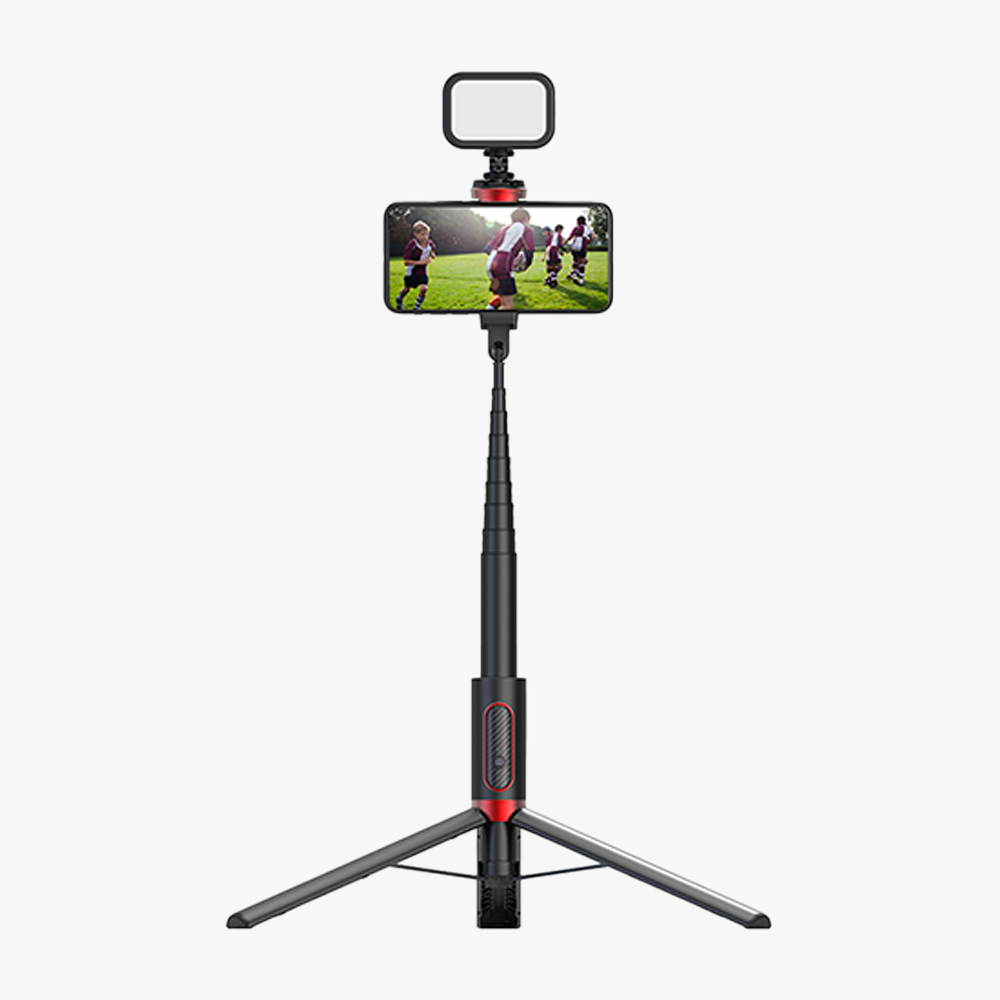
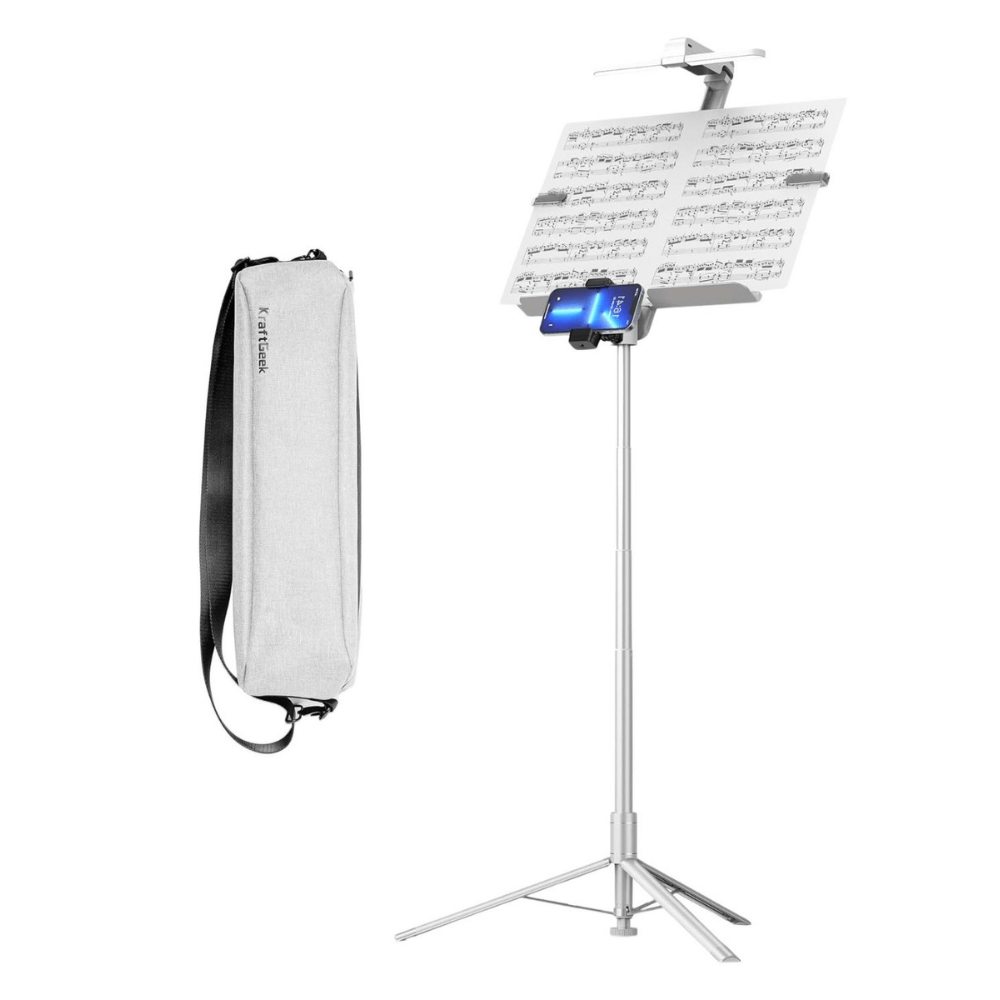
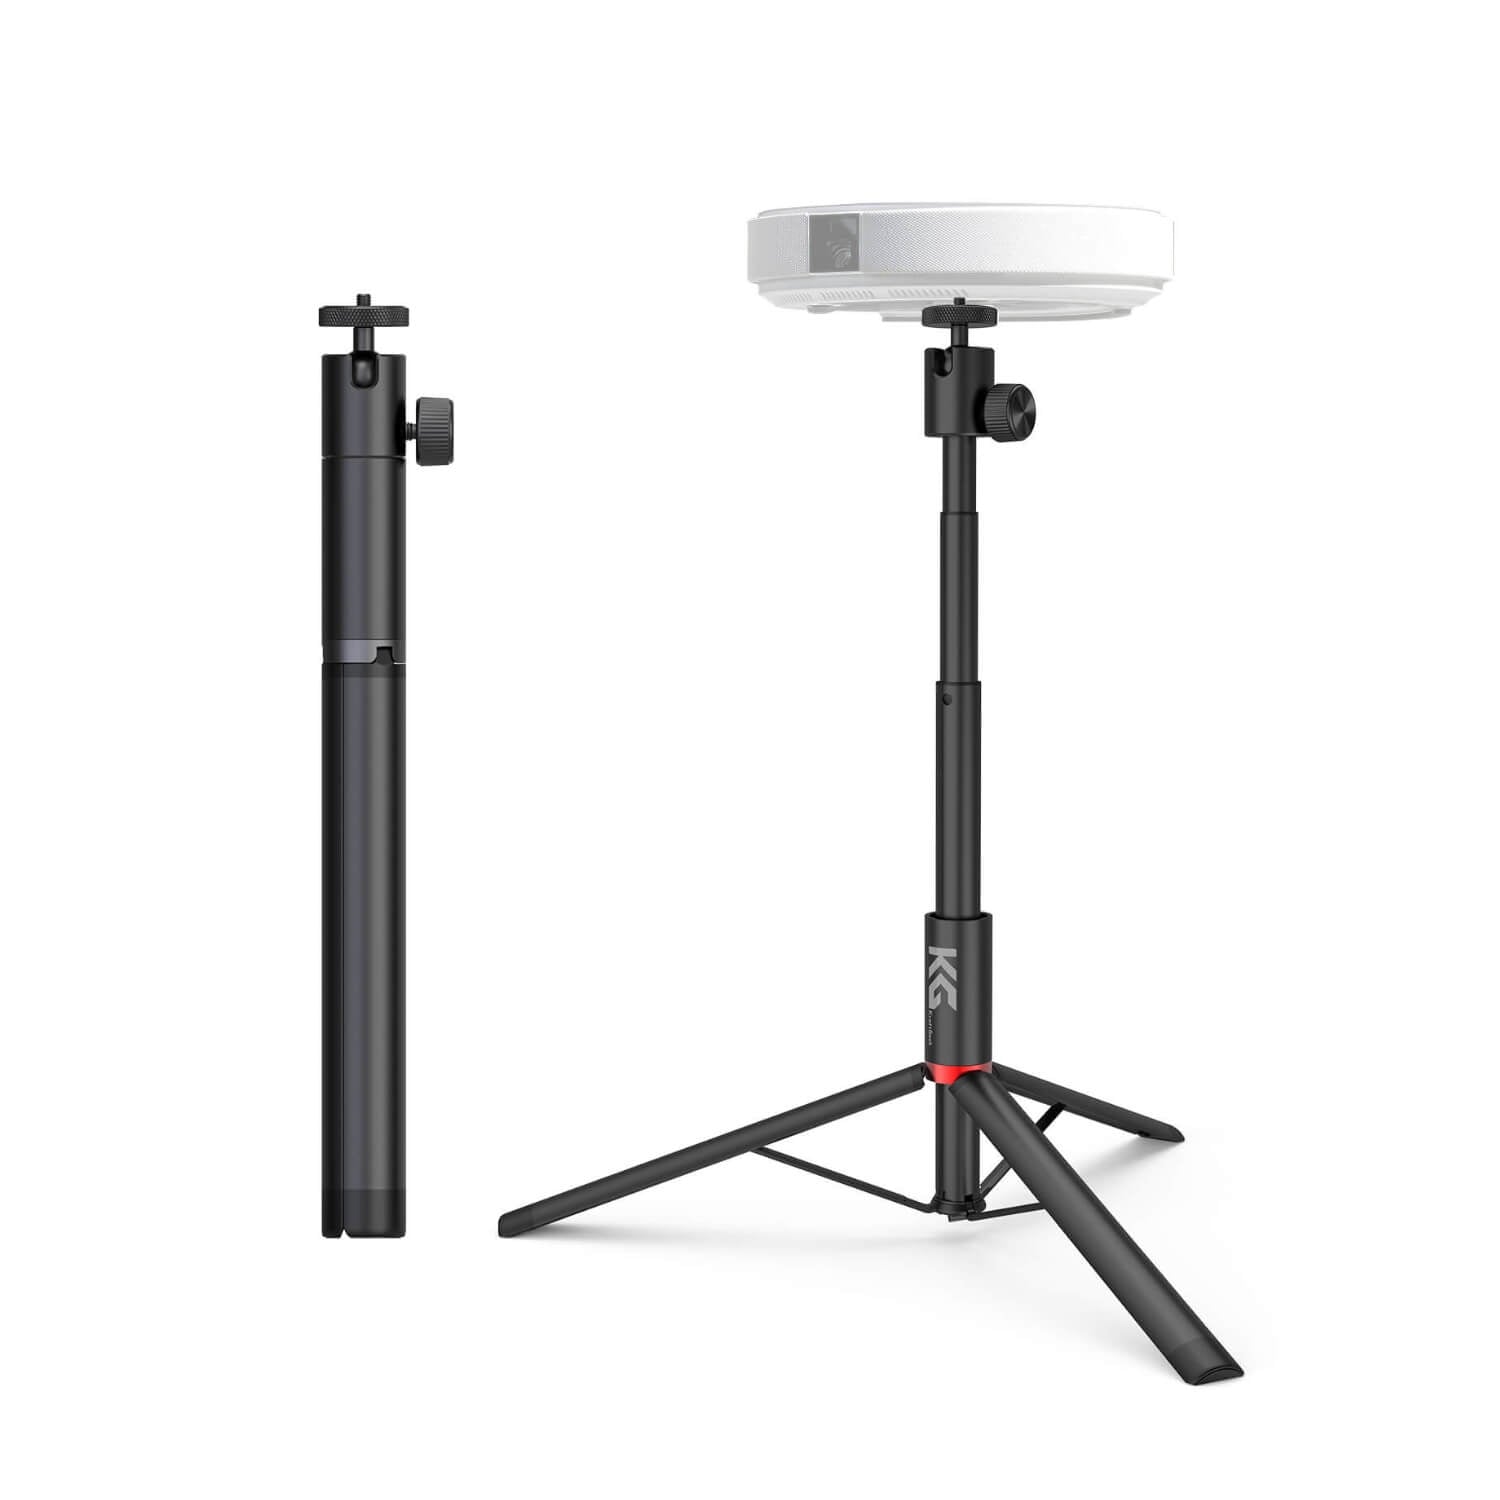
Product Recommendations
Conclusion
The main trick for effective visualization of food through photography is in sample works, experiments, and continuous study. As photographers progress in their craft and build their distinctive style, they now have a platform to produce images that not only express the excellence of food but also send bold narratives, evoke feelings, and motivate passionate culinary journeys.

