


Photo editing serves as the brushstroke that brings depth, emotion, and clarity to your vision. It allows you to enhance colors, correct exposure, and refine details, ensuring your photos resonate with the intended mood and atmosphere. Whether you're a beginner eager to elevate your snapshots or an enthusiast ready to delve into advanced techniques, this guide provides the key to unlocking your photos' full potential.
Things to Consider Before You Begin Editing
Here are key considerations that will ensure a smooth and fulfilling editing experience:
Artistic Vision
Clearly define the mood, style, and message you want to convey through your edited photos. This clarity minimizes guesswork during editing, allowing you to make purposeful enhancements that resonate with your artistic intent.
Image Quality
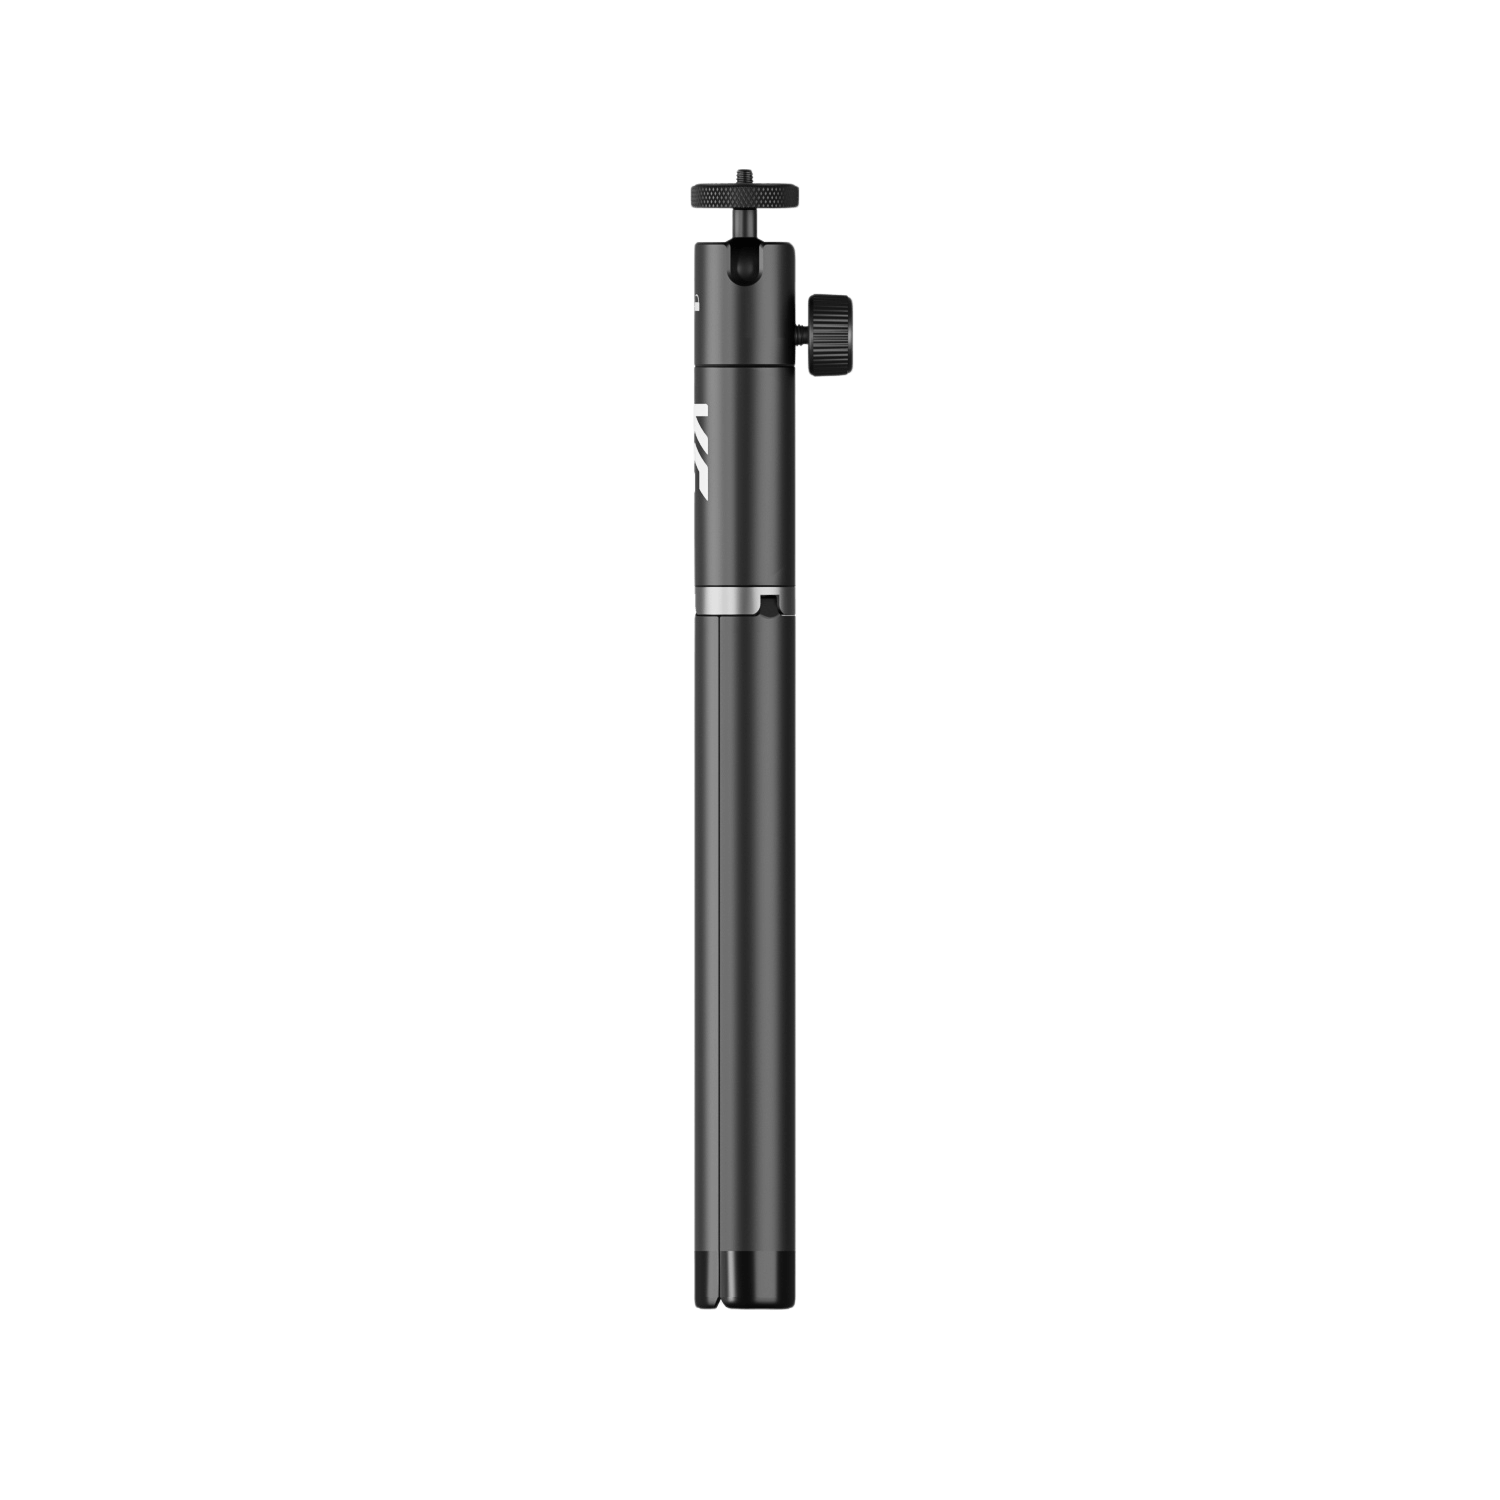
Start with high-quality, well-exposed images. A phone tripod guarantees stability during capture, minimizing blur and ensuring sharp details. This foundational step significantly impacts the editing process, providing a solid base for enhancements without the need to compensate for technical shortcomings.
Backup Your Originals
Before making any edits, create duplicates or backups of your original images. This precautionary step safeguards against unintentional changes or experimentation gone awry.
Editing Software
Select an editing software that aligns with your skill level and artistic goals. Whether you opt for beginner-friendly applications or advanced professional suites, the choice should complement your editing aspirations. The stability offered by a phone tripod ensures that the initial image meets the software's requirements for precise adjustments.
Composition Elements
Assess composition factors like framing, balance, and focal points before initiating edits. This mindful approach enhances the overall impact of your final images.
Technical Specifications
Be aware of technical aspects such as resolution, file format, and color space requirements, especially if your edited photos are intended for specific applications.
Audience
If your edited photos are intended for a specific audience or platform, consider the visual preferences and requirements of that audience. The phone tripod aids in capturing images with consistent quality, ensuring that your final edits meet the standards of your target audience, whether it's for social media, print, or personal enjoyment.
Editing Workflow
Establish a systematic workflow before diving into edits. Plan the order of adjustments, from basic enhancements to more complex edits.
Essential Steps in Photo Editing
1. Import and Select Photos
Take advantage of features like Wix Photo Studio or Adobe Lightroom Mobile CC for mobile users. Once imported, meticulously select the images that resonate with your artistic vision. Remember, quality often triumphs over quantity. Choose photos that evoke emotions or tell compelling stories.
Before importing, organize your photos into labeled folders. This practice streamlines your editing workflow and ensures efficient access to the images you want to enhance.
2. Set a Game Plan
Identify the technical corrections needed, such as exposure and white balance, and consider the creative enhancements you want to apply. This two-pronged approach ensures a balanced edit, addressing technical imperfections while infusing your unique style into the image.
3. Straighten, Rotate, and Crop
Correct skewed horizons, level tilted and use appropriate cropping to remove distracting elements. This is because this guides the viewers’ eyes to the point of interest thus, improving the viewer experience. Utilize the "Rule of Thirds" – a fundamental principle in photography. Align key elements along imaginary lines or at their intersections to create a balanced composition.
4. Technical Fixes and Adjustments
White balance ensures natural color tones, while exposure adjustments fine-tune brightness. Use the "auto" function for initial adjustments, but fine-tune manually for optimal results.
5. Adjust Vibrance and Saturation
Use sliders for vibrance and saturation to refine color tones. Strive for a balance that enhances the overall visual appeal without veering into unrealistic territory. Aim for enhancements that complement the natural color palette rather than overpowering it.
6. Enhance Light and Shadows
Adjust exposure settings to achieve brightness and try to change highlights and shadows. It will be a matter of a good balance to achieve in order to have the game between light and dark tones among other things and make your photo more deep and dimensional. Strive for a balance that preserves detail while creating a visually engaging atmosphere.
7. Add Final Touches and Share
Complete editing your photo by adding final touches, such as sharpening or applying filters. Step back and reassess each image to ensure cohesiveness within your collection. Once satisfied, save your edits and share your visual stories with the world.
Save both the edited and original versions. This practice allows for future adjustments or comparisons, offering valuable insights into your evolving editing style.
Advanced Techniques for Photo Editing Enthusiasts
These techniques not only demand skillful execution but also a fine understanding of the editing software.
HDR (High Dynamic Range) Imaging
This method consists of bridging more exposures to create an image with subtle details both in the shadows and the highlights. Tweak HDR settings carefully because sometimes normalizing the contrast band is not always a reasonable thing to do and you should aim at appropriate contrast enhancement.
Focus Stacking for Maximum Depth
This technique involves merging multiple images with different focal points into a single, impeccably sharp composition. Use focus stacking for macro photography or landscapes to maintain clarity throughout the entire frame.
Custom Brushes and Masking Techniques
These tools offer precise control over where adjustments are applied, allowing for intricate detailing and selective enhancements. Experiment with opacity and flow settings to achieve subtle and delicate effects with custom brushes.
Advanced Retouching and Frequency Separation
Advance your photo editing skills by using more complex techniques, such as frequency separation. The technique it offered has separate adjustments for texture and color bringing a more accurate form of skin retouching. Practice moderation in retouching to maintain a natural look, preserving the unique features of your subjects.
Composite Imagery and Photomontage
Merge elements from different photos seamlessly, crafting narratives that transcend the boundaries of reality. Pay attention to lighting and perspective to achieve convincing and visually compelling photomontages.
Color Grading and Tonal Adjustments
The ability to color grade your images will achieve certain emotions in the viewer. Know about color theory to ensure that your choice of color grading is appropriate and effective in portraying emotions.
Product Recommendations:
Conclusion
Starting from the primary steps of defining your vibe and choosing good-looking illustrations to advanced editing and the embracing of complex processes, this guide has offered a reliable roadmap both for beginners and enthusiasts.

