


Night photography and daylight photography are very much different from each other; the landscape is full of light during the day while the nighttime world has its own uniqueness. The art of night photography involves working with specialized techniques and tools, as well as a good sense of timing and creativity.
Gear Essentials for Night Photography

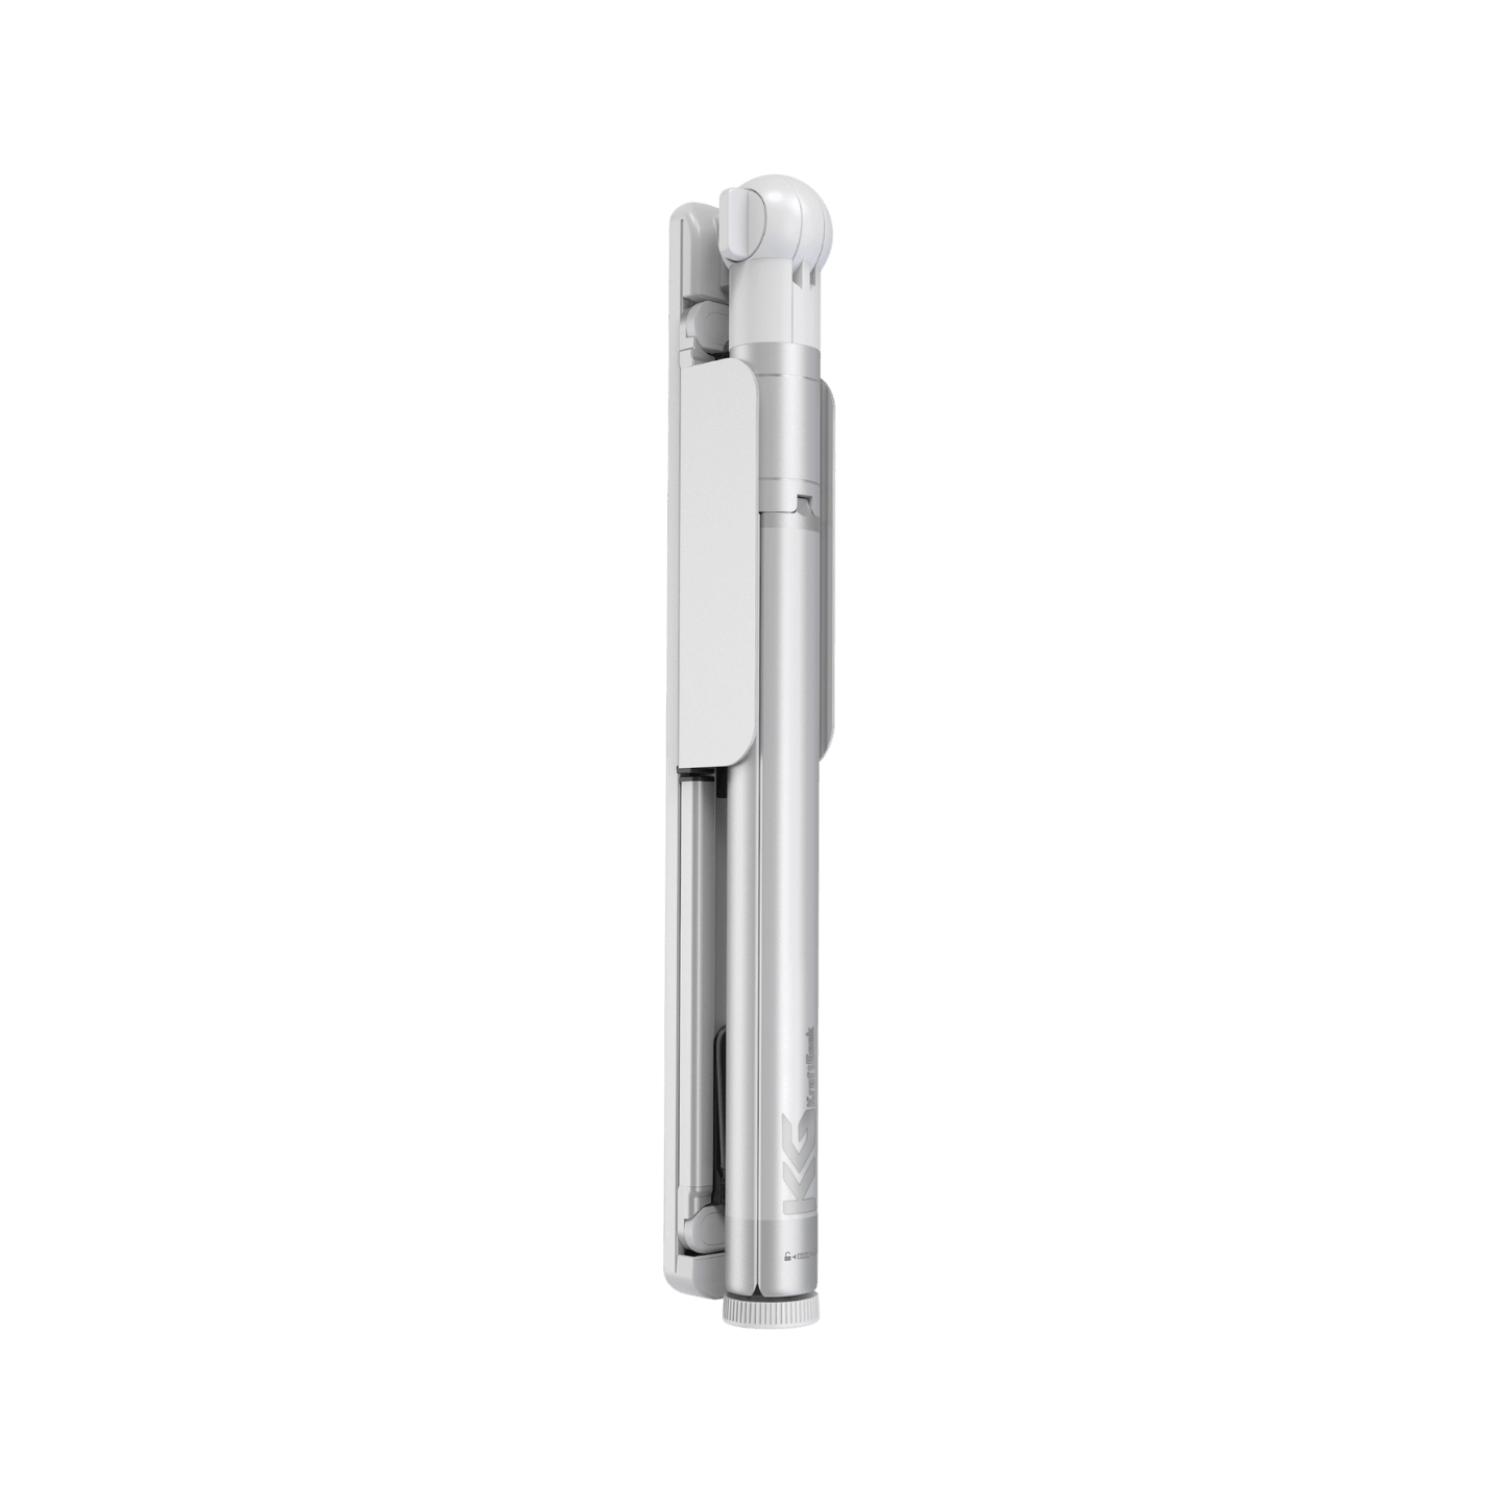
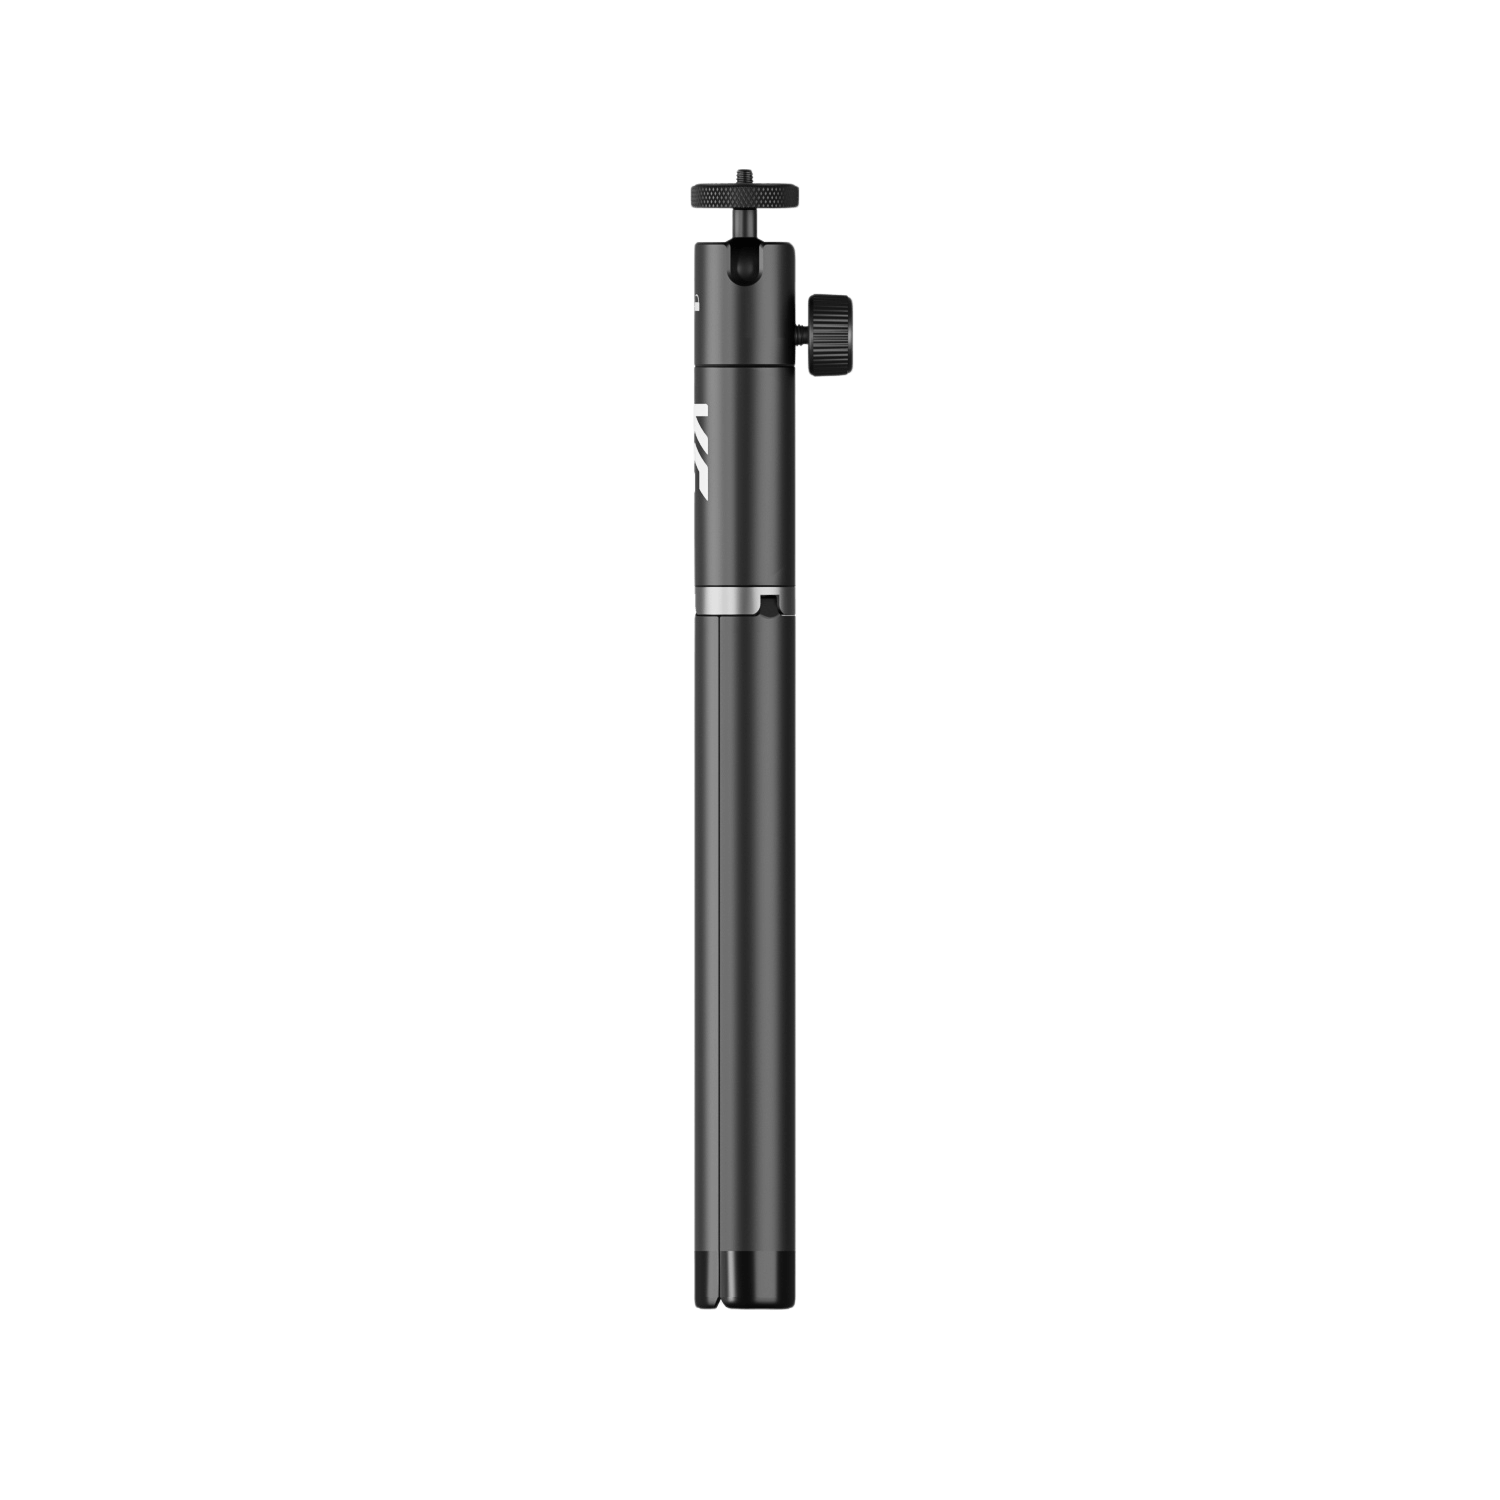
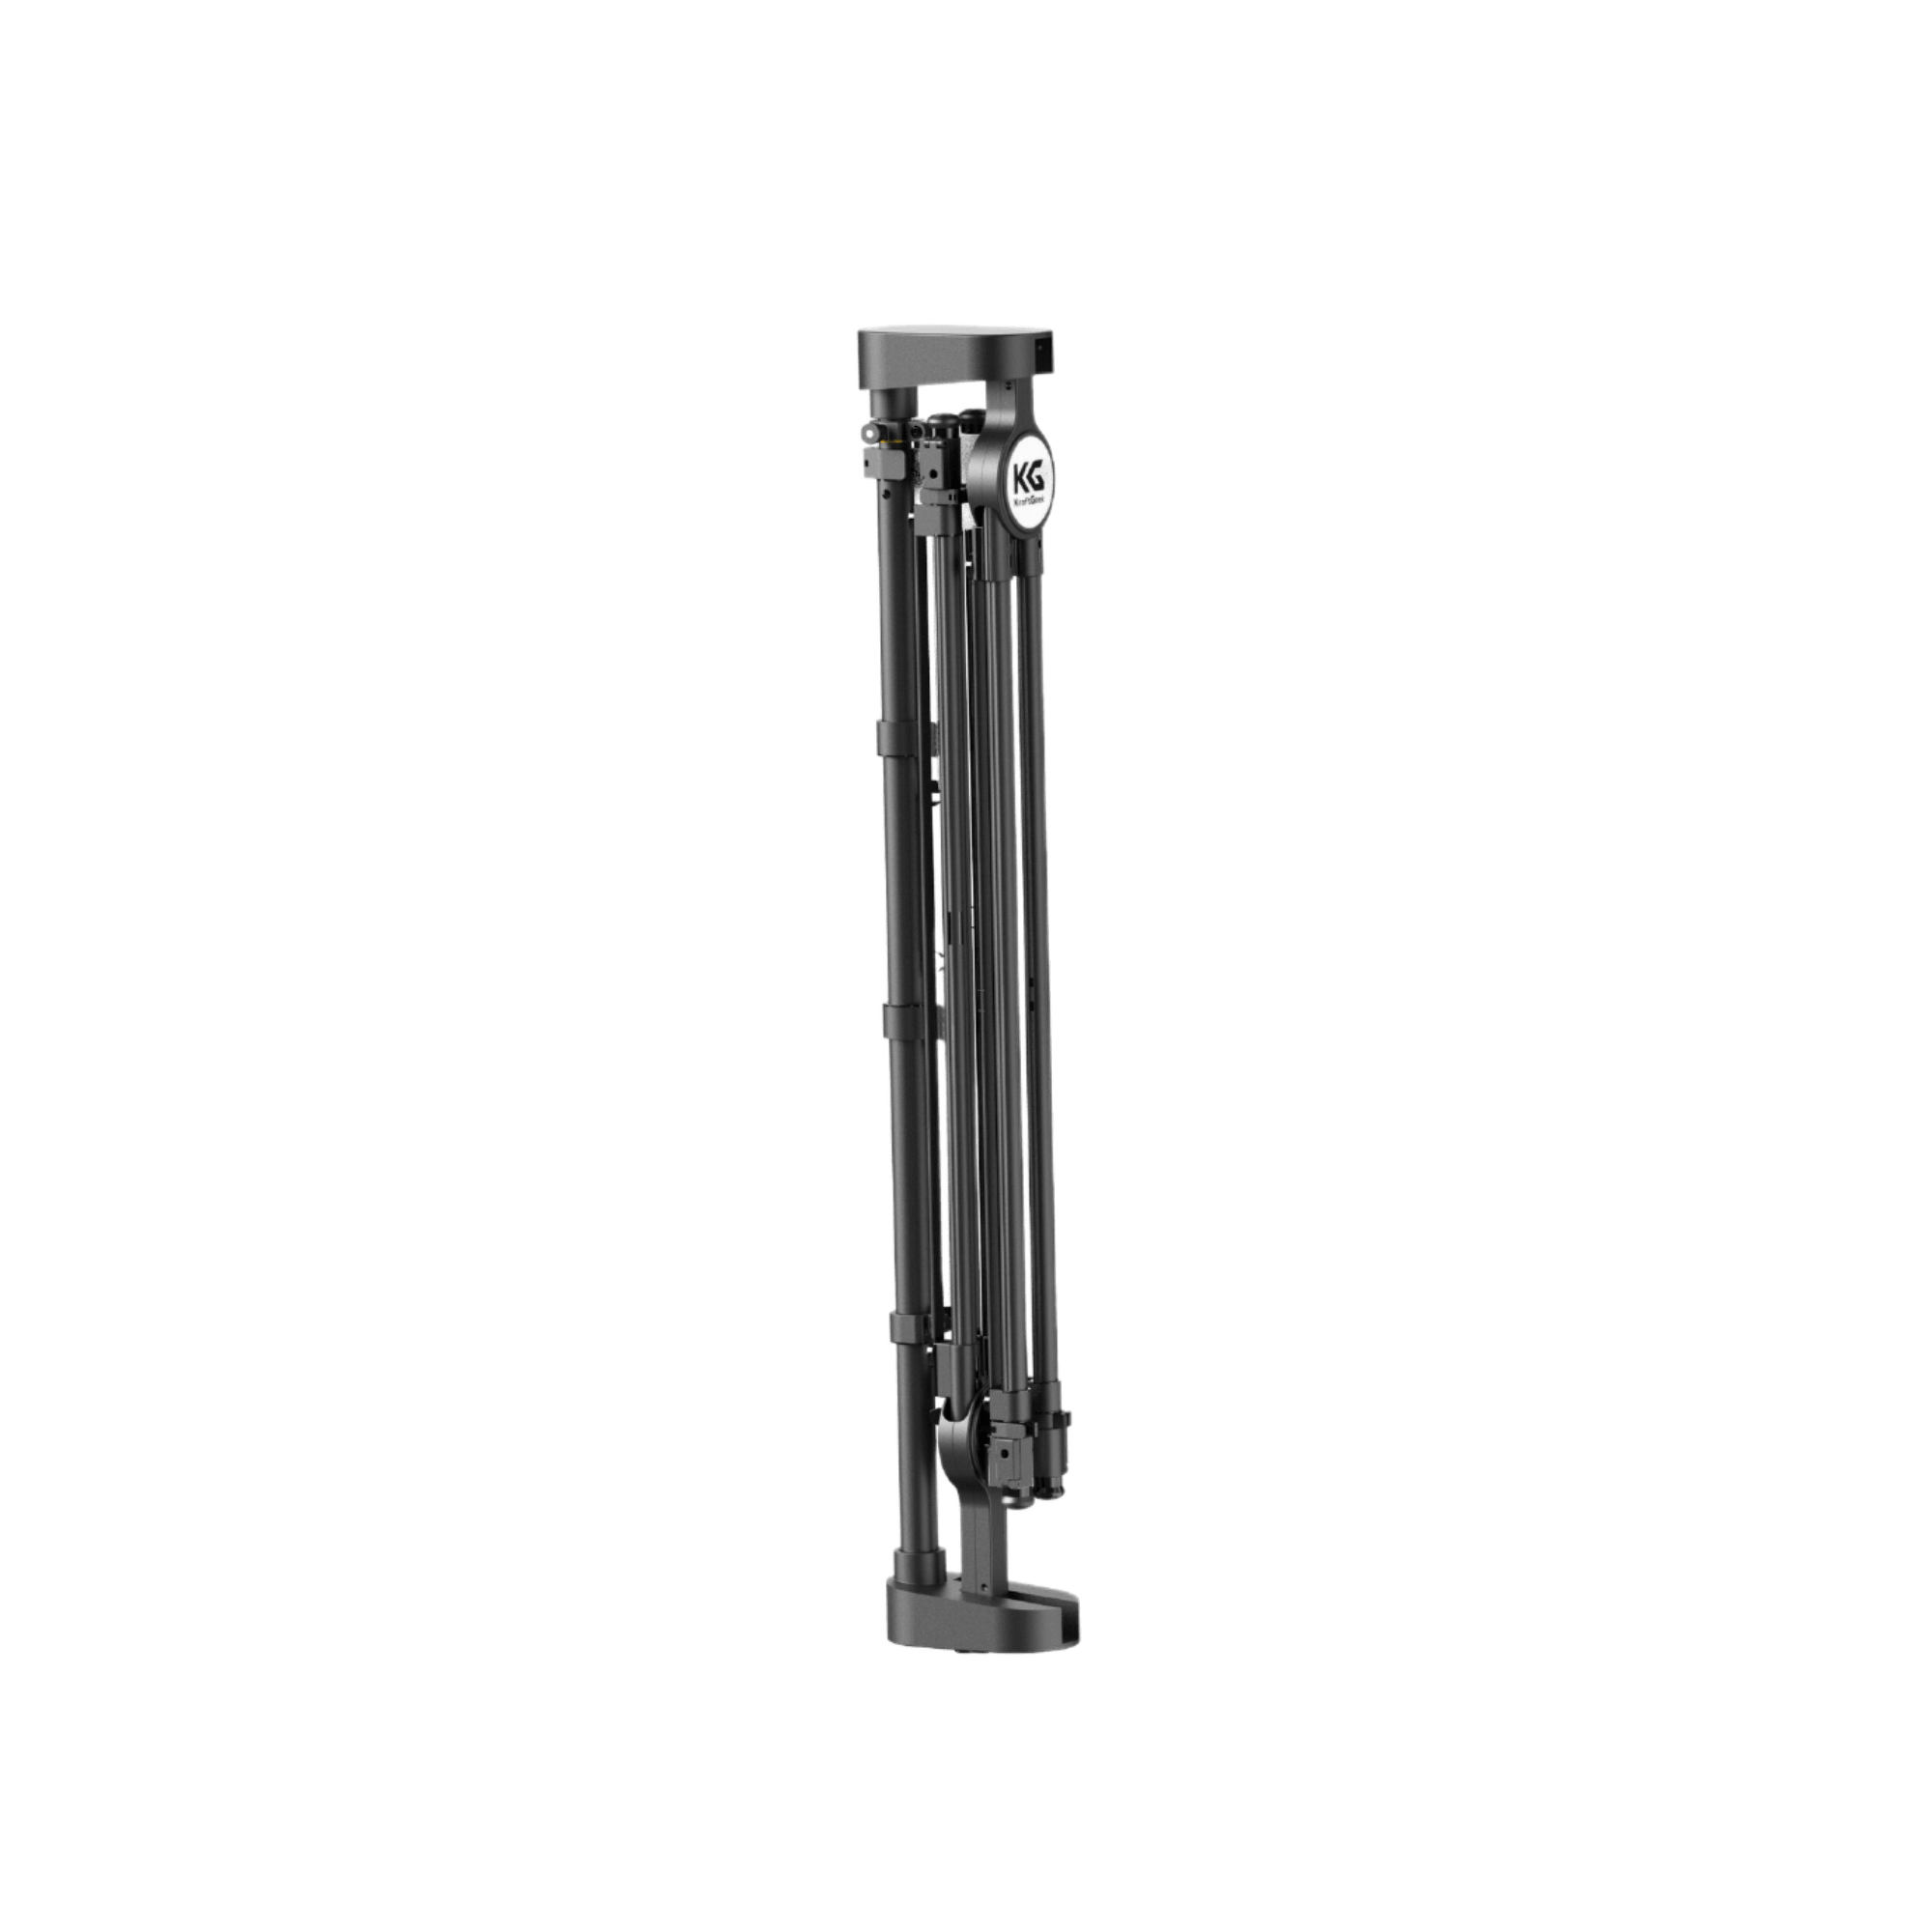
1. Heavy-duty Tripod
A strong tripod is a fundamental element in successful night photography since it provides stability and no camera shake during long exposures. Invest in a heavy-duty tripod that will support the weight of both your camera and lens setup. Make sure that you check features like adjustable legs and ball heads for fine adjustments in positioning and composition.
2. Remote Shutter Release
A remote shutter release is an essential accessory for working your camera’s shutter without touching it physically, avoiding camera shake, so you can take sharp images. Buy the version of the cable shutter release that is compatible with your camera model, either wired or wireless type, and you will be able to shoot more precisely and conveniently.
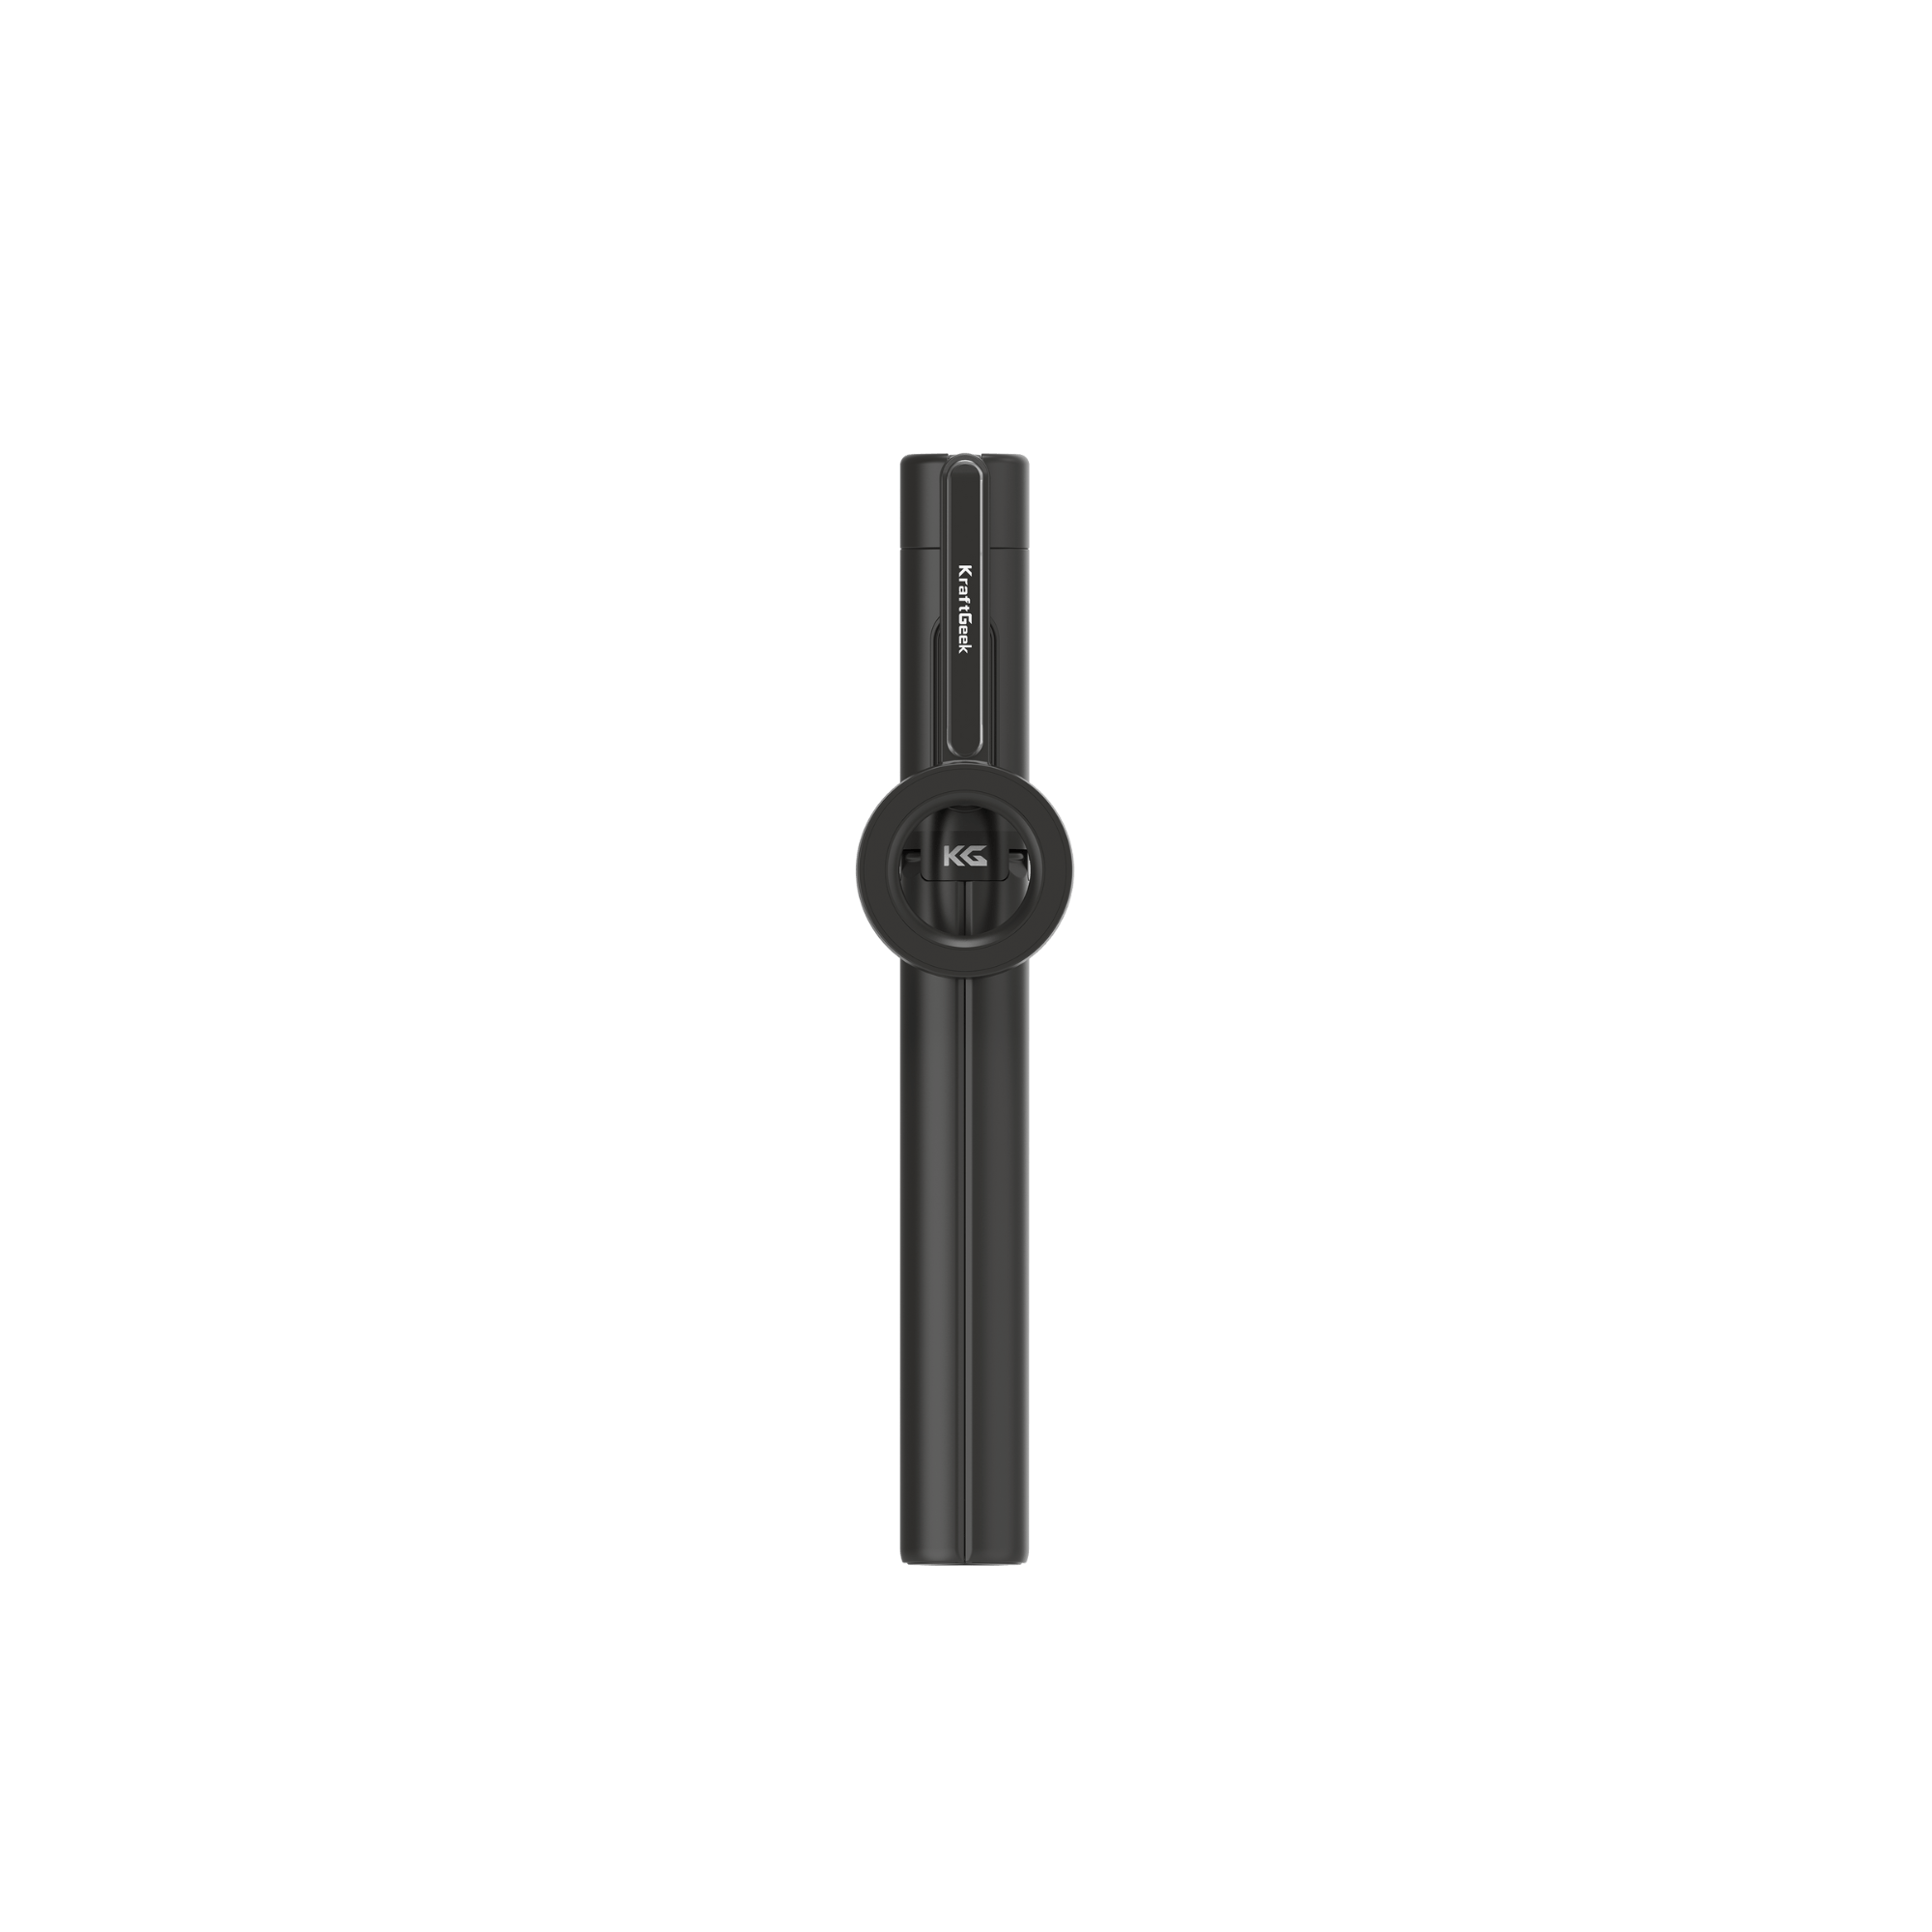
4. Flashlight or Headlamp
A flashlight or headlamp can really help to add insight into the environment during the night photography sessions. In addition to visibility and safety, a flashlight helps to locate camera controls, set up a tripod, and move about in dark places. Go for a flashlight or headlamp that is small and lightweight so that it may be operated with one hand.
Additionally, incorporating a tripod light can provide illumination during setup and composition, facilitating precise adjustments in the dark environment.
5. Lens Hood
The lens hood reduces the effect of lens flare from streetlights and neon signs. The lens diameter should be compatible and attaching and detaching the lens hood should be convenient. Minimizing lens flare contributes to cleaner and more vibrant images in night photography.
6. Extra Batteries
Shooting long exposures and working under night conditions in cold weather drains the camera battery very quickly. Always have an extra set of batteries with you and remember that they should be fully charged. This way, you won’t miss the best shot. An extra battery guarantees that shooting is uninterrupted and you can explore the nighttime realm with no limits.
Understanding Exposure for Night Photography
Exposure could be the key element of photography, controlling the way light hits the camera's sensor to create an image. Achieving the right exposure in night photography is crucial for successful out-of-doors night photography that will be bright enough, filled with detail, and with proper exposure.

Shutter Speed
In daylight, photographers use fast shutter speeds to capture a moving object frozen and a clear frame. Nonetheless in night photography, shutter speeds that are relatively longer are usually required to guarantee sufficient light would hit the camera's sensor. The ability to record light for a longer time span makes the camera perceive the insensible with more detail, even coming in the night with all its plots and atmosphere.
Aperture
The correct aperture setting is an important thing in nighttime photography as it is necessary to ensure proper light control and provide the desired sharpness.
On the other hand, smaller apertures (higher f-stops) produce great depth of field but the longer shutter speed may cause low-light images. Alternatively, bigger apertures (lower f-stops) let more light to the sensor, thus making the shutter faster too, and the final image to be brighter.
ISO Sensitivity
ISO sensitivity indicates the photoelectric sensitivity of the camera sensor to the level of light intensity, with the higher ISO values increasing this sensitivity level and allowing for shorter shutter speeds in dim light conditions. Nevertheless, the higher ISO settings cause increased digital noise resulting in loss of details in the image as the quality deteriorates.
One of the most important aspects of night photography is having a proper understanding of the harmony between the ISO sensitivity and the image noise in order to maximize exposure and minimize noise artifacts.
Coming back to the ISO value, it should always be kept as low as possible and the camera settings adjusted accordingly to compensate for the reduced light levels. For instance, longer shutter speeds and larger apertures are especially effective in achieving cleaner and more detailed shots in night photography.
Exposure Triangle
The interaction of shutter speed, aperture, and ISO forms the triangle of exposure, and any changes in one parameter will require the other two parameters to be compensated in such a way that proper exposure is achieved. Mastering the exposure triangle empowers photographers to adapt to varying lighting conditions, creatively manipulate exposure settings, and achieve desired aesthetic effects in their night photography endeavors.
Choosing Subjects for Night Photography
One of the most wonderful subjects for night photography is the sky. In these rural or remote areas with minimal light pollution, the night sky is lit up with stars, constellations, and celestial phenomena.
You can also consider elements that are enhanced or transformed by darkness and artificial light. Find scenes that are lit by street lights, neon signs, or other artificial lighting sources, since they can create dramatic contrast and vivid colors against the soothing darkness of the night sky.
Moreover, search for subjects having great textures, shapes, and architectural details enhanced by artificial lighting which much include buildings, bridges, and monuments. Cityscapes are an inexhaustible source of material for night photography, with the city lit up by lit-up buildings, crowded streets, and lively cityscapes, giving photographers a vast opportunity to showcase their talent.
Post-Processing Tips for Night Photos
The post-processing stage is an important step that ensures a better quality of night photos since photographers can control exposure adjustment, noise reduction, as well as detail enhancement to produce amazing and visually appealing images.

1. Adjusting Exposure and Contrast
Start with exposure and contrast control to improve the overall brightness and tonal range of the picture. To improve the exposure, increase it slightly in order to bring out the details in the shadows and the darker parts of the photo while adjusting the contrast will help to balance the tones and produce a more visually impacting photograph.
2. Managing Highlights and Shadows
Pay attention to highlights and shadows in the picture and make adjustments to keep the details and avoid overexposure and also underexposure. Make use of tools like highlights and shadow sliders to recover details in highlighted and shadowed regions and balance exposure.
3. Noise Reduction
For night photography, the use of higher ISO settings may cause the noise generated by the digital image to increase. Use noise reduction methods to reduce the apparent noise and grain, keeping image quality and resolution intact. Use noise reduction tools in the post-processing software that selectively delete noise while keeping the fine details in the image.
4. Sharpening and Detail Enhancement
Improve the definition and detail of night photos by using sharpening and detail enhancement tools. Use sharpening tools to boost whole image sharpness and to define fine details, especially in the critical areas of stars, city lights, and architectural features. Use the sharpening settings to obtain the right balance between sharpness and natural effect.
5. Color Correction and White Balance
Accurate color casts and white balance correction are a must for natural and true-to-life nighttime photos. To correct color, use color correction tools for the adjustment of color temperature and color tint, eliminating the color cast caused by artificial light or atmospheric conditions. Make the adjustments to the white balance settings so as to get the color temperature and overall color balance you want in the image.
6. Lens Correction
Fix lens distortions and aberrations to enhance the overall quality and viewing experience of the night scenes. Correct image appearance with lens correction tools to fix common issues like vignetting, chromatic aberration, and perspective distortion for a clean and uniform image across the entire frame.
7. Selective Editing and Dodging/Burning
Apply selective editing tools to sharpen specific regions of the image and bring focus to the focal subjects or objects. Use dodge and burn tools to accomplish selective lightening or darkening of parts of the image to highlight shadows and highlights to create a 3D effect. Try an experimental style of selective editing to improve and enliven the photo as a whole.
8. Creative Effects and Enhancements
Try various creative effects and additions to make your night photos moody, atmospheric, and visually pleasant. Utilize techniques including vignetting, split toning, and texture overlay to create unique and stylistic effects that go along with the image's subject and atmosphere. Use creative effects sparingly to enhance rather than overpower the aesthetics of the final piece.
Product Recommendations
Conclusion
Having this guide as a basis, photographers can confidently handle low-light conditions and select an interesting subject to capture and reach proper exposure and focus with their night photos.

